
Cuttings from mint plants may be used to start new plants. Cut a healthy stem from the parent plant slightly below a node to use as a starting point for propagation. Remove the lower half of the stem’s leaves and immerse the stem in rooting hormone or a glass of water. A bright, warm place is the best.
You can grow mint from seed if you want, but you don’t even need to possess a mint plant to get started!
Reader Poll: What online courses would interest you?
The short answer is yes.
Yes, cuttings of mint may be cultivated, a process is known as propagating mint. As a general rule, propagation is the process of creating a plant that is similar genetically to its parent.
Mint is one of the most challenging plants to grow, but with a little time and attention, you can have your very own tiny patch of mint in no time at all.
Subscribe to our newsletter!
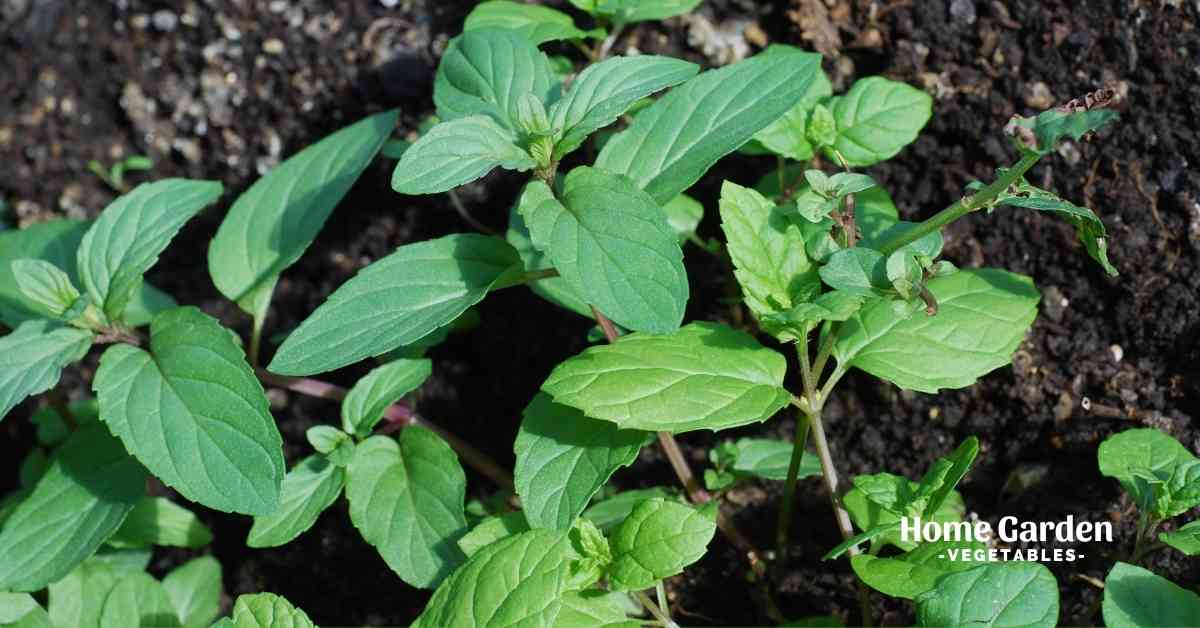
How To Grow Mint, Step By Step
Everything you need to know about growing mint from cuttings is laid out in this article.
1. Get Your Hands On Some Mint.
To begin, you’ll need some mint cuttings. As long as you are growing your mint, taking off a few healthy, flowerless sprigs is all you need. There is no need to trim off lengthy branches – sprigs that are 4-6′′ long are OK.
Most grocery shops and farmers’ markets offer packages or bunches of fresh mint if you don’t already cultivate it or don’t know someone willing to share their supply. However, fresh sprigs bought at a grocery store should work just as well as those taken right from the plant.
Do you know when to plant? Depending on your location, the best time to plant is in the spring so that the plant has enough time to grow and develop.
2. Strip Leaves Off The Bottom 2″ Of The Mint Sprig
As soon as you’ve got your mint leaves, trim them back so that you have approximately 2 inches of bare stem, which is where your roots will grow.
If you want to reproduce the sprig immediately, clip the sprig’s tip at a 45-degree angle. To keep the sprig’s core from drying out, use this method.
You may keep the sprigs in your fridge in a plastic bag if you’re not ready to propagate them yet.
3. Dip The Stem In A Growth Hormone (Optional)
When the naked stem is ready, you may place it in the rooting hormone.
The use of a growth hormone isn’t required, particularly for a mint plant that you want to eat shortly. It may be essential in certain circumstances, but in most cases, you can get by without it.
The powder or gel version of a growth hormone may be purchased at your local garden shop if you wish to speed up root development. Dip your stem into some water, then into the growth hormone, and finally into damp soil.
Make sure you wait at least one year after rooting the mint before eating any of the plant’s parts fertilized with a rooting hormone (whether powdered or gelled).
4. The Root Structure May Now Be Started
A potting soil mix may be used to guarantee that the stem of the plant has sufficient drainage if you start it with a growth hormone. A small pot or pack is recommended for planting these sprigs at this stage. This will enable you to relocate the plant if necessary.
Establishing a root system before planting in the soil is essential if you are not utilizing a growth hormone for the plants. Make sure that the 2′′ of the bare stem is completely soaked by placing your mint plant in an empty glass with water. Roots should begin to emerge from the stem in about three to four weeks.
The plant is ready to be planted in potting soil after it has established a few mature roots. Root growth is stimulated by excellent soil contact, so be sure the stem is firmly planted.
When the soil temperature is between 60 and 70 degrees Fahrenheit, do this procedure. To avoid having a plant that struggles to take root, it is best to plant the sprigs as soon as possible, but not too early.
5. Allow The Plant To Mature For At Least Six To Eight Weeks Before Harvesting
Your plants will grow at different rates depending on when you start propagating them. You should expect to observe signs of development after 6-8 weeks on average.
Warm, humid conditions are ideal for keeping your mint plant. A greenhouse would thrive in this environment. As an alternative, you might place a plastic bag on top of the plant and container. Indoors or outdoors? It depends on your location’s temperature and how much sunlight the plant receives.
The yellowing leaves may be a sign of transplant shock (plants, like people, dislike rapid changes). Remove the yellow leaves and be ready for extra growth in this instance.
6. Take Good Care Of Your Baby Mint!
As soon as you have your plant going, it’s important to care for it just like any other young plant you’d buy from a greenhouse or growing center. Mint plants need a lot of sunshine, water, and attention to thrive.
The mint plant will eventually outgrow its container and you may put this perennial right in the ground for mint for years to come.
Growing from seed is also another great option! See my other article on how to grow mint!
Conclusion
Overall, mint is an excellent plant to experiment with propagating from stem cuttings! A terrific way to share your favorite mint plant kinds with friends, or even give them as presents, is by growing mint yourself! Mini mint plants may also be used as fillers in summer planters, and they are completely free to use! In the end, you’ll have enough mint to go around if you know-how.