
Growing a successful broccoli crop begins with the soil beneath our feet. Ensuring that this foundational layer is primed and ready for planting can make all the difference between a flourish of green and a wilted disappointment. This article outlines the critical steps and considerations for preparing your garden soil for broccoli, a vegetable that demands attention to detail. From choosing the right location to amending the soil and beyond, a careful approach to these initial stages sets the stage for a bountiful harvest ahead.
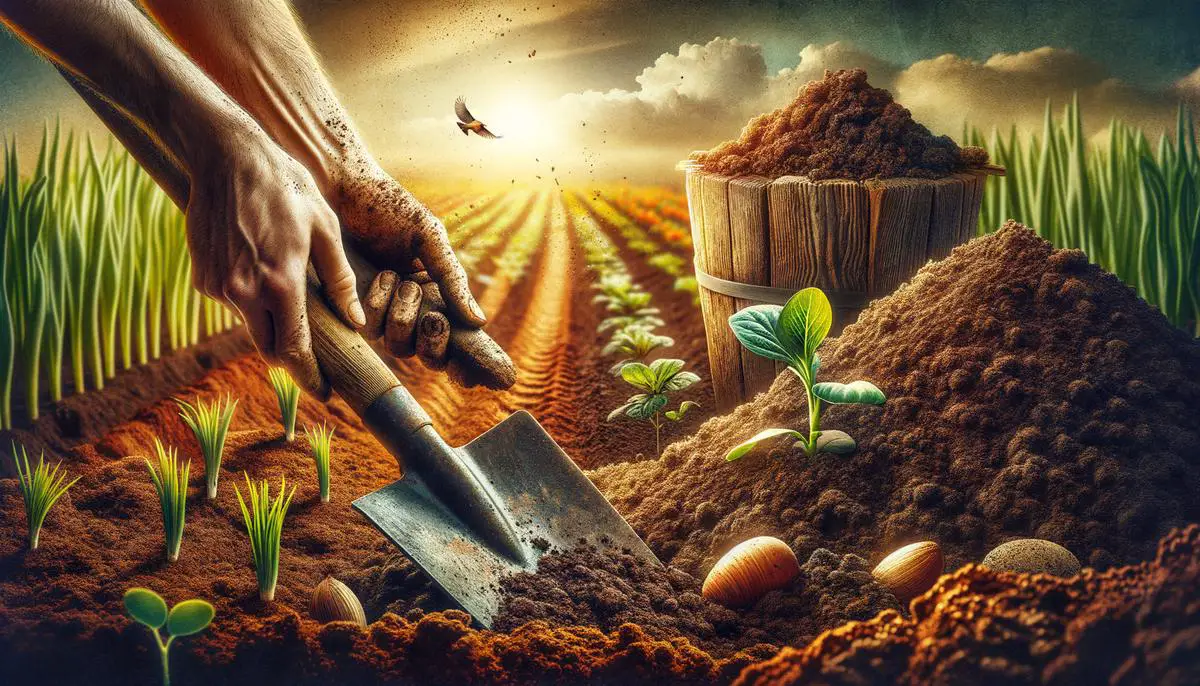
Preparing the Soil
Preparing Soil for Broccoli Planting
Reader Poll: What online courses would interest you?
Broccoli thrives in rich, nutrient-filled soil, so preparing your garden correctly is crucial for a bountiful harvest. Follow these steps to get your soil ready for broccoli planting:
- Choose the Right Location: Broccoli needs at least 6 to 8 hours of sunlight daily. Pick a spot in your garden that gets plenty of sun throughout the day.
- Test the Soil: Before adding anything to your soil, it’s important to know what you’re working with. Use a soil test kit from your local garden center to check the soil pH. Broccoli prefers slightly acidic to neutral soil, with a pH between 6.0 and 7.0.
- Amend the Soil: Based on your soil test results, you might need to amend your soil to reach the optimal pH. If your soil is too acidic, add garden lime to raise the pH. If it’s too alkaline, sulfur can help lower the pH. Follow the instructions on the product packaging for the best results.
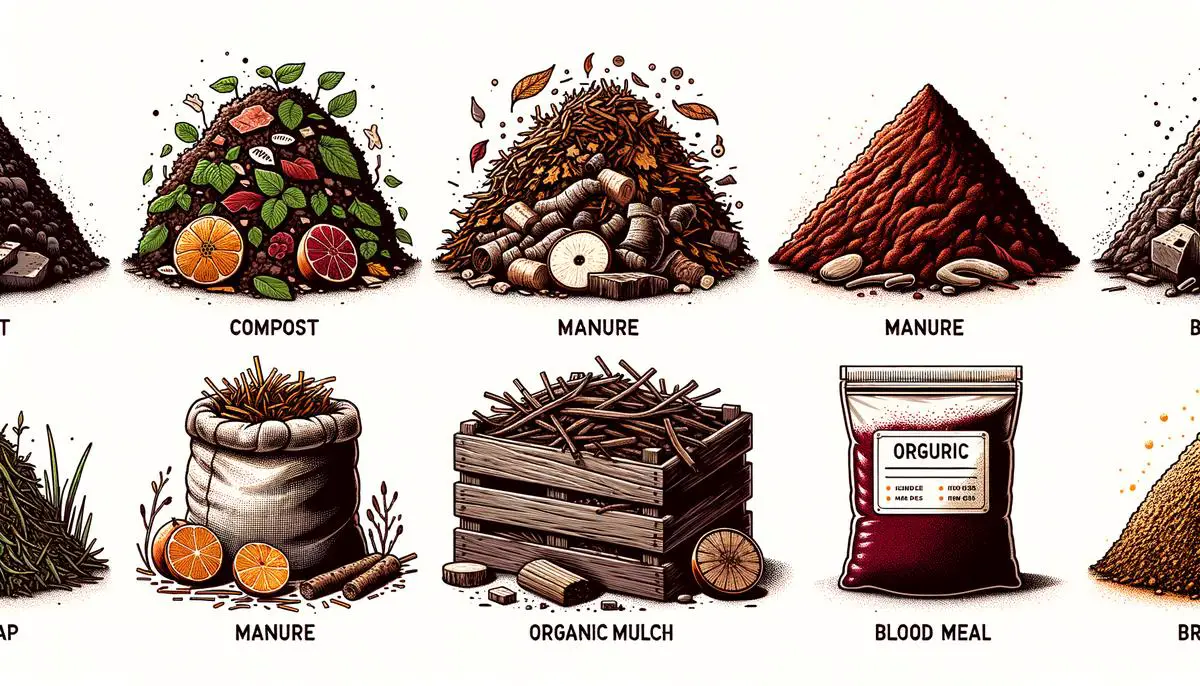
- Enrich with Compost: Broccoli loves nutrient-rich soil, so mix in 2 to 4 inches of compost or well-rotted manure into the top 6 to 8 inches of soil. This step improves soil texture, fertility, and drainage – all beneficial for broccoli roots.
- Ensure Proper Drainage: Broccoli doesn’t do well in soggy soil. If you have heavy clay soil, consider raising your beds or mixing in some sand and organic matter to improve drainage.
- Fertilize Wisely: After mixing in compost, add a balanced, slow-release fertilizer to give your broccoli plants a good start. Look for a fertilizer labeled with an N-P-K ratio near 10-10-10 or one specifically formulated for vegetables.
- Till the Soil: Using a garden fork or tiller, loosen the soil to about 12 inches deep. This step ensures the soil is aerated, making it easier for broccoli roots to grow deep and strong.
- Smooth the Surface: Finally, use a rake to smooth out the soil, breaking up any large clumps and removing rocks or debris. This creates a welcoming bed for your broccoli seeds or seedlings.
You’re now ready to plant your broccoli! Remember to water your plants regularly, providing 1 to 1.5 inches of water per week, and to monitor for pests. With the right soil preparation, your broccoli plants will be well on their way to a productive season.
Choosing the Right Soil Amendments
After you’ve prepared the location, tested and amended the soil’s pH, enriched it with compost or manure, ensured good drainage, applied fertilizer, tilled for root growth, and smoothed the surface for planting, you’ll need to focus on the nutritional needs of your broccoli plants as they grow. Broccoli, being a heavy feeder, requires continuous nourishment to produce big, healthy heads. To achieve this, consider the following soil amendments:
Subscribe to our newsletter!
Mulching
After planting, apply a layer of organic mulch around your broccoli plants. This will help keep the soil moist, regulate temperature, and suppress weeds. It also gradually breaks down, adding organic matter back into the soil. Straw, grass clippings, or shredded leaves are excellent options.
Nitrogen Boost
Broccoli plants benefit significantly from an additional nitrogen boost. As they begin to grow, applying a nitrogen-rich amendment can support their rapid growth needs. Blood meal or fish emulsion are effective natural options. Apply according to the product directions, usually every 4-6 weeks during the growing season, to maintain the nitrogen levels needed for optimal growth.
Calcium Addition
Calcium is essential for broccoli development, preventing issues such as hollow stems. If your soil test reveals a calcium deficiency, incorporate gypsum (calcium sulfate) or lime into the soil around your plants. These amendments not just provide calcium but can also aid in loosening compacted soil, improving root penetration.
Potassium Support
For strong root development and disease resistance, potassium is key. Wood ash is an excellent source of potassium for your garden. Lightly sprinkle wood ash around the broccoli plants, but be cautious not to over-apply, as too much can alter soil pH levels.
Micronutrients
Although macronutrients like nitrogen, phosphorus, and potassium (NPK) are crucial, broccoli also benefits from micronutrients such as magnesium, boron, and zinc. Epsom salt (magnesium sulfate) can be used to boost magnesium levels. Boron and zinc can be supplemented through specialized fertilizers or by using a micronutrient blend designed for vegetable gardens. Apply these according to the package instructions.
Continual Monitoring and Adjustment
Finally, it’s vital to continually monitor your soil and plant health. If you notice signs of nutrient deficiency (yellowing leaves, stunted growth, poor head formation), it may be time to retest your soil and adjust your amendments as needed. Remember, the goal is to maintain a balanced soil environment where your broccoli can thrive.
By carefully managing and amending your soil throughout the growing season, you’re creating the best possible foundation for your broccoli plants. This attention to detail pays off with a bountiful harvest of delicious, nutrient-rich broccoli that you can enjoy fresh from your garden.
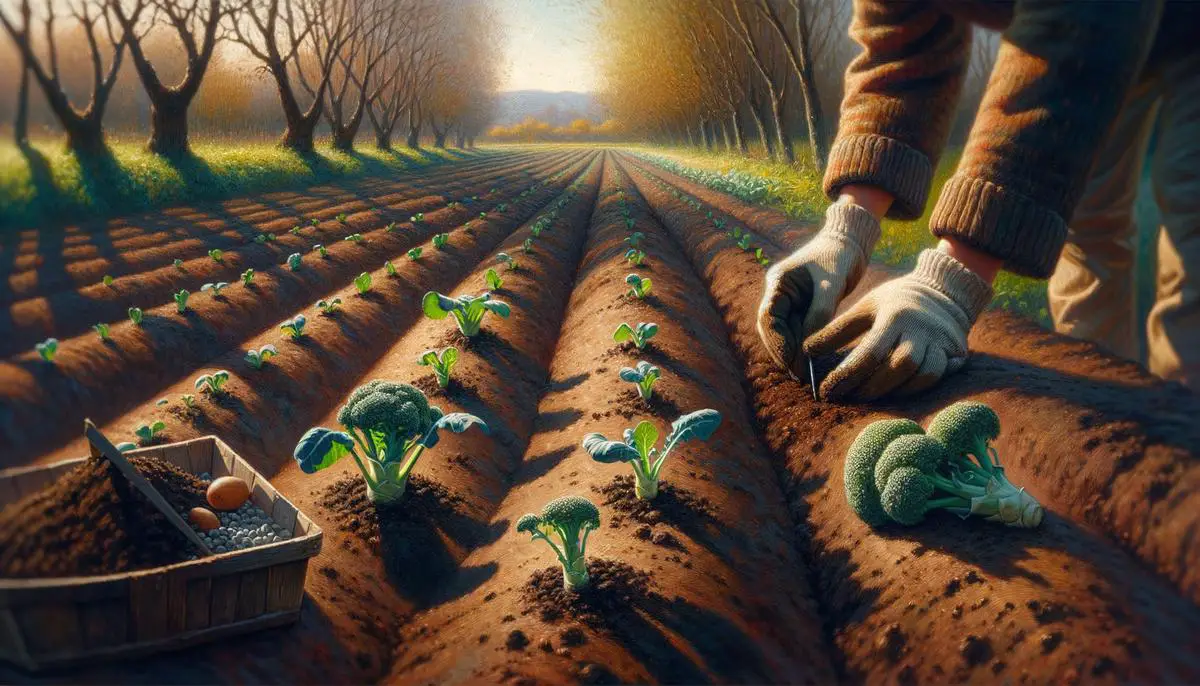
Maintaining Soil Health
Maintaining optimal soil conditions for broccoli isn’t just about initial preparation; it involves ongoing care and adjustment. Here’s how to keep your broccoli thriving through the growing season:
Water Management
Broccoli requires consistent moisture to develop those lush, green heads you’re aiming for. They need about 1 to 1.5 inches of water per week. It’s best to water deeply and less frequently to encourage deep root growth. Use a soaker hose or drip irrigation system early in the morning. This method reduces water wastage and prevents the leaves from getting wet, minimizing disease risk.
Weed Control
Weeds compete with broccoli for nutrients, water, and sunlight. Keep your garden bed weed-free, but be gentle. Use a hoe or your hands to remove weeds without disturbing the broccoli roots. A 2- to 3-inch layer of mulch around your plants can help suppress weeds and retain soil moisture – just remember not to let the mulch touch the broccoli stems directly to prevent rot.
Temperature Management
Broccoli thrives in cooler temperatures, so it’s necessary to monitor the weather. If temperatures rise unexpectedly, use shade cloth to protect your plants from too much sun, which can cause them to bolt (flower prematurely), leading to a bitter taste. Conversely, if a sudden cold snap threatens, lightweight row covers can provide some warmth without overheating the plants.
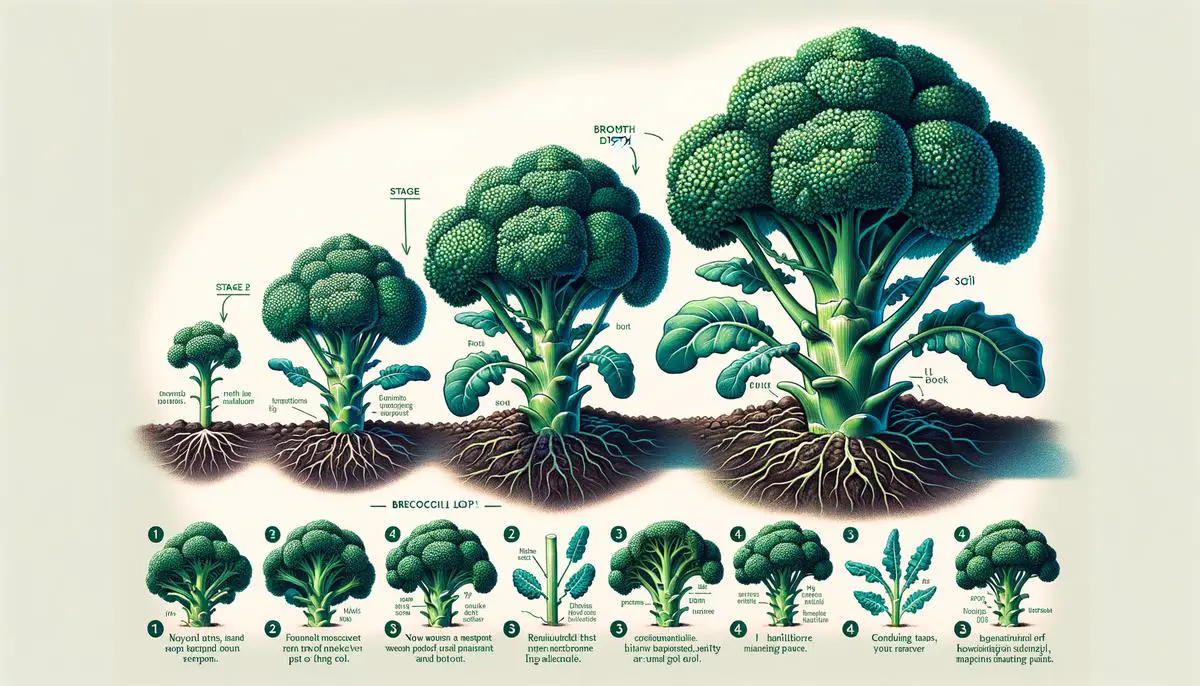
Harvest Timing
Knowing when to harvest is part of maintaining optimal conditions. Look for heads that are firm and tight, usually about 6-8 inches in diameter. Cut the central head at a slant, about 5-6 inches down the stem. This encourages the growth of side shoots, which will give you a second, albeit smaller, harvest. Don’t wait too long to harvest, as the heads can become loose and start to flower.
Post-Harvest Care
After harvesting, remove any plant debris to prevent pests and diseases from overwintering in your soil. If you’re not planting another crop immediately, consider planting a cover crop, such as clover or vetch. Cover crops prevent soil erosion, improve soil health, and can fix nitrogen, preparing the bed for whatever you decide to plant next season.
Soil Testing (Annual)
Even though you’ve already tested your soil’s pH and nutrient levels at the start, doing so annually helps monitor changes. Based on the results, you might need to amend the soil again to maintain the optimal conditions for next year’s crop. This proactive approach helps prevent issues before they start.
By following these steps, you’ll ensure that your broccoli plants have everything they need throughout the growing season, leading to a successful harvest. Remember, gardening is an ongoing process of learning and adjustment. Keep notes on what works (and what doesn’t), and you’ll find your strategy improving year after year.
As our exploration of soil preparation and maintenance for broccoli comes to an end, it’s clear that the key to a thriving garden lies in the care and foresight we invest in the ground below. Each step, from soil testing to post-harvest care, is a building block towards creating a nurturing environment for your plants. By following these guidelines, gardeners can look forward to the rewarding sight of healthy, vibrant broccoli heads, ready for harvest. Remember, the beauty of gardening lies in the responsive dance between gardener and earth, where each action taken in preparation and care can lead to a flourishing vegetable patch.