
From fiery reds to vibrant yellows, the colorful world of bell peppers is a stunning experience that every gardener should explore. As one of the most versatile vegetables in the culinary realm, bell peppers not only add a dash of flavor and color to your meals, but they also strengthen your cultivation skills with their unique requirements. Starting bell peppers from seeds can be a challenging but rewarding experience. This article will guide you through selecting the right seeds, preparing the soil effectively, nurturing the seedlings, and managing pests and diseases. With careful planning and attentive care, you can transform your garden into a thriving haven filled with plump, juicy bell peppers.
Choosing the Right Seeds
When it comes to gardening, getting your hands dirty can be quite rewarding, especially when you get to enjoy the delicious, crisp taste of bell peppers — freshly picked from your own backyard! Growing bell peppers from seeds is a fun and satiating hobby. Believe me, nothing can compare to the joy of watching your seedlings sprout into fruit-bearing plants.
Reader Poll: What online courses would interest you?
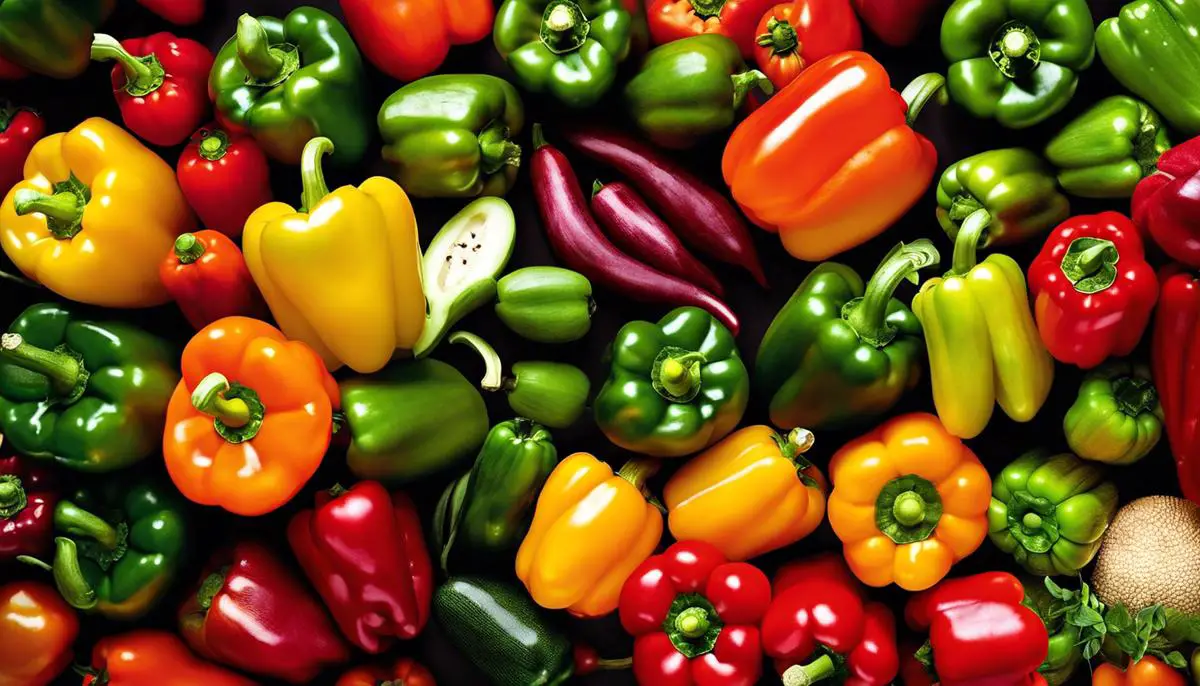
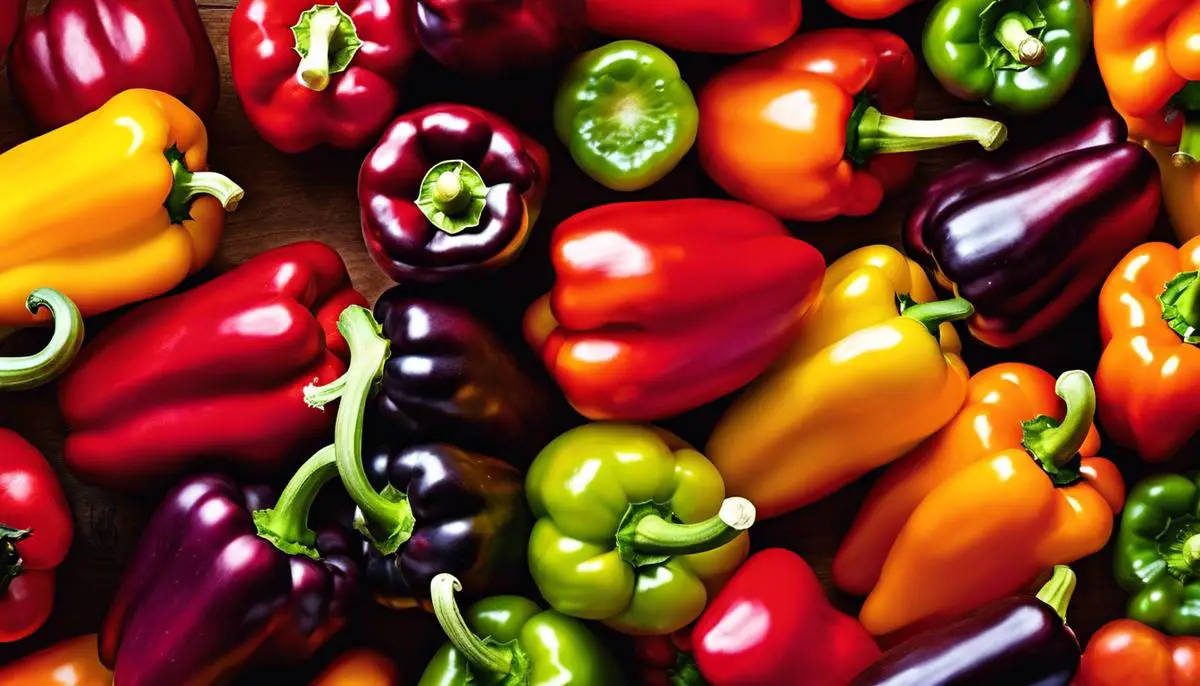
Firstly, understand that there are a multitude of bell pepper species available to choose from in your gardening ventures. The sweet varieties are found in typical green, red, yellow, orange and even purple! Similarly, other species come in varying shapes and sizes, each contributing their unique flavor and appeal to your garden.
Next, it’s crucial to acknowledge the importance of quality in seed selection. Remember, the healthier and more energetic the seed, the stronger and more productive the plant. Spend some time researching reliable seed companies and go for those that offer untreated, non-GMO seeds for the best, most natural results.
Seed packages bring a wealth of information on the back. Besides the plant variety, they also contain details such as planting depth, maturity day (how long it takes the plant from seed to bear fruit), and even disease resistance. Similarly, they may provide some insight into whether the variety is more suited to container gardening or outdoor gardens.
Subscribe to our newsletter!
When it comes to choosing the variety of bell pepper, the choice boils down to taste preference and growing climate. For instance, if you are in a cooler climate, choose a variety with an earlier maturity date. In warmer climates, you have more flexibility since peppers generally love heat and sunlight.
Once you have chosen your variety, make sure to read up on how to start bell pepper seeds. While they are not the trickiest of plants to germinate, bell peppers may need higher temperatures and more time compared to other vegetables. A small at-home greenhouse or a heated mat can help your seeds sprout faster.
Keep in mind that bell peppers are heavy feeders. They will benefit from well-drained soil fortified with compost or a good slow-release granular fertilizer. Consistent watering, without waterlogging the plant, will also contribute positively to their growth.
Finally, remember that the delight in growing your own bell peppers goes beyond just choosing the right seeds. Cultivate patience, do your research, pamper your plants, and brace yourself for failures. But most importantly, enjoy the process. The juiciness of the bell peppers is a reward in itself, but the real prize lies in the nurturing, watching, and caring for your garden.
Soil Preparation and Sowing
10. Correct Ph Levels for Bell Pepper Growth
Bell peppers demand a slightly acidic soil with a pH value between 6.0 and 6.8 for optimal growth. Using a soil testing kit, a simple measure can be taken to identify the pH level of your garden soil. If your soil isn’t in this range, it’s easy to adjust using soil additives. Lime can make the soil more alkaline, while sulfur decreases the soil’s pH making it more acidic.
11. Fine-tuning Your Soil Composition
Peppers are heavy feeders and require nutrient-rich soil to thrive. Improve your soil with a blend of organic materials to provide essential nutrients. Compost or well-rotted manure are excellent additions, as they not only provide nutrition but also support the soil’s texture by improving its water retention and drainage capacities. Blend this organic matter into your soil prior to sowing your seeds to give them the best head-start.
12. Optimum Temperature for Germination
Despite starting your seeds off in a warm environment – preferably around 80-85 F (27-30 C) as already discussed, the soil temperature should ideally be between 70-85 F (21-30 C) when it’s time to sow them into the garden. Consider investing in a soil thermometer for accuracy.
13. Sowing Your Bell Pepper Seeds
Plant your seeds about ¼-½ inch deep, typically this is around the depth of your first knuckle. Provide them with plenty of space – sow them about 18 inches apart for optimal growth. Give them access to plenty of sunlight, at least 6 hours a day is optimum.
14. Soil Maintenance
Once the seeds are in the ground, continue to feed the soil, not just the plants. An organic, slow-release granular fertilizer is recommended when the plants begin to blossom, and throughout the growing season, the soil can benefit from an occasional foliar spray with seaweed extract or fish emulsion.
15. Preventing Diseases and Pest Issues
Maintaining healthy soil is your first defense against diseases and pest issues. Practice crop rotation and use disease-resistant seeds to prevent soil-borne diseases. For pests, like aphids and flea beetles, consider companion planting with surrounding species like basil or marigold that repel these invaders.
16. Celebrating Harvest Time!
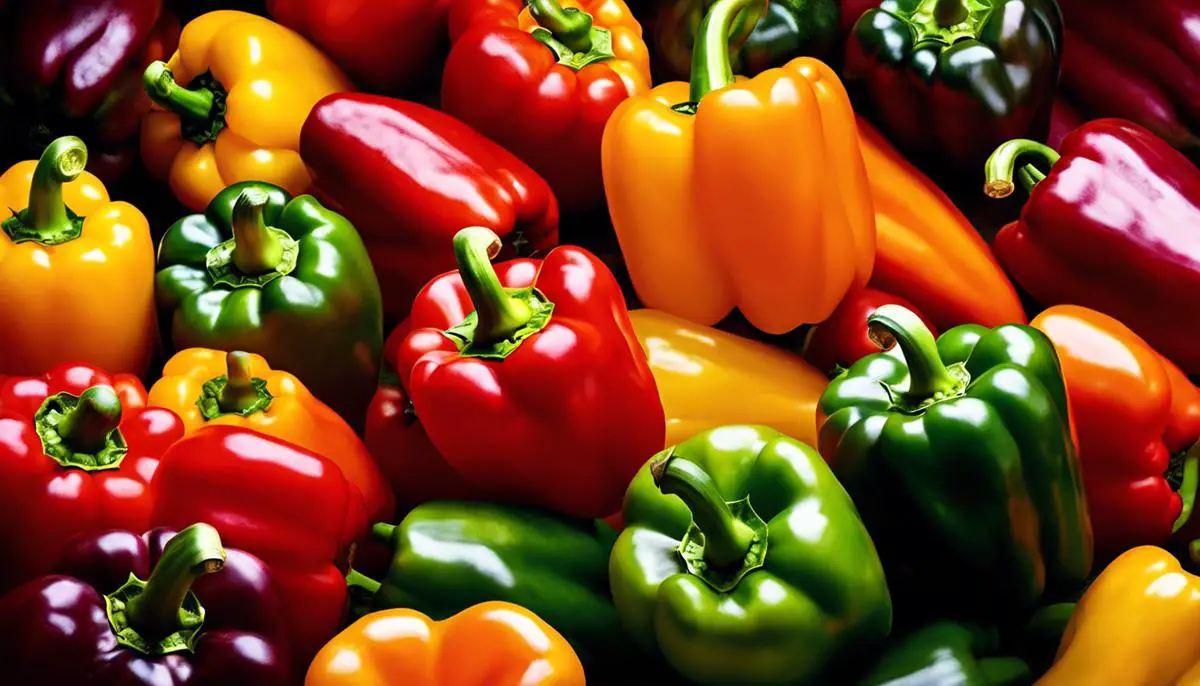
When the bell peppers have grown to full size and are displaying their trademark glossy skin – it’s harvest time! The color of the pepper at this stage depends on the variety you have chosen. By getting a feel for when they’re ready, either through specific coloring or a slight softness under thumb’s pressure, you’ll reap your crop at peak ripeness. These fruits of labors, grown from seeds nurtured by your caring hand, are sure to make any dish more delightful than ever before.
Seedling Care and Transplanting
Caring for bell pepper seedlings requires understanding and adjusting the pH levels in their environment. Seedlings thrive in soil with a pH range from 6.0 to 6.8, although they can tolerate slightly higher or lower values. It’s beneficial to do a soil test before planting to ensure the pH levels are within this range. If soil pH is low, use lime to raise it; if it’s too high, you can lower it by adding sulfur or organic soil amendments like peat moss.
Bell pepper seedlings require a rich, loamy soil that is composed of equal parts sand, silt, and clay. This combination fosters a stable root hatchery and sufficient nutrition supply for the young seedlings. A helpful hack is to add organic matter such as aged manure or compost to boost the soil’s nutrient profile.
A crucial factor to remember is temperature – bell peppers absolutely love the heat. To enhance seed germination, maintain a warm soil temperature of about 70°F to 85°F. This adequate warmth is especially vital within the first few weeks after sowing your bell pepper seeds.
Sowing bell pepper seeds is an easy task. As discussed, ensure that your soil is warm and has the correct pH. Now it’s time to sow those seeds! Plant 2-3 seeds about 1/4 inch deep in each cell of a seed tray or straight into your potting soil. Don’t forget to cover the seeds lightly with soil and water carefully to maintain soil moistness.
Maintaining the soil is crucial to successful seedling growth. Mulching with organic compost can help hold the soil’s moisture while keeping weeds under control. Furthermore, the decomposing compost will gradually release nutrients into the soil beneficial to your bell pepper seedlings’ growth.
Subsequently, it’s vital to keep diseases and pests at bay. Use natural pest deterrents and encourage beneficial insects into your garden. Practicing crop rotation and providing adequate spacing between your plants can also help in disease prevention by inhibiting the spread of soil-borne diseases. Regular inspection of your plants for signs of pests or disease can ensure early detection and remedy.
Finally, it’s time to celebrate harvest time! Bell peppers mature within 60-90 days after transplant. However, you might want to wait until they’re the right color (depending on the variety) for the most flavorful peppers. carefully cut peppers off with a sharp knife – and savor the fruits of your hard work!
tips are given above to not only elevate your gardening skills but also render you a fulfilled dabbler in the world of horticulture. So, let’s immerse in the joy of nurturing your bell pepper seedlings and anticipate the thrilling prospect of a homegrown harvest.
Pest and Disease Management
After growing your bell peppers using the right seeds, paying attention to planting depth and maturity days, and taking care of the plant’s needs, you might think you’re home free. But hold on, you might still end up in a battle with pests and diseases that could quickly escalate if not quickly identified and tackled. But don’t fret! This article will equip you with the knowledge needed to identify, treat, and prevent common pests and diseases that could affect your bell peppers.
Aphids are common pests, that are attracted to bell peppers plants. These tiny creatures suck sap from the plants, causing the leaves to curl and negatively affecting the overall health of your plant. They also secrete honeydew which attracts ants and encourages the growth of sooty mold. Regular inspection of the plant is key in early detection, and treatment is often as simple as spraying the plant with a mild solution of soapy water.
Spider mites are another pest to watch out for. Just like the aphids, they suck plant sap and cause yellowing of leaves. A plant that is heavily infested might have fine webs on the underside of the leaves. You can control them by spraying the plant with water to knock them off, introduce predatory insects such as ladybugs that eat them, or use an insecticidal soap spray.
Cutworms can also wreak havoc on your bell pepper plants, mainly by cutting the stems at the base of the plant. They are usually active during the night, hence it’s advised to check your plants at dusk for any signs. You can place a collar at the base of the plant to deter them or simply handpick them off your plants.
Among the diseases, blossom end rot can be a challenge for your bell peppers. It manifests as black, sunken spots on the blossom end of the fruit and is often a result of calcium deficiency. You can prevent this by ensuring your soil has an adequate supply of calcium and maintaining consistent watering.
Bacterial spot disease is another, affecting both the leaves and fruit appearing as dark, wet spots. Copper-based sprays can help in controlling the disease but prevention through crop rotation is key.
Powdery mildew is a fungal disease that manifests as white powdery spots on the bells pepper leaves, stems, and fruits. A milk-water solution sprayed on the affected plant can help control the spread. Also, avoiding overcrowding plants enhances air circulation, thus preventing the disease.
In conclusion, growing bell peppers can be an exciting journey, despite the potential for pest and disease issues. Comprehending these common diseases and pests aids in taking appropriate action. Regular checks, adequate preventive measures, and timely action can ensure your bell pepper plants stay healthy. So, embark on this journey confidently, and soon you’ll be reaping your delicious rewards. Happy gardening!

Understanding the art of bell pepper cultivation can be a richly rewarding experience. From meticulous seed selection to careful soil preparation, from attentive care of seedlings to efficient pest and disease management, the fruits of your labor will bask in the sun, proudly standing tall with green, red, yellow, or purple hues. The value of growing bell peppers from seed far exceeds the delightful crunch and flavor it adds to your cuisine; it lies in the joys of harvesting, the connection with nature, and the satisfaction of homegrown goodness. So, why wait? Embark on this gardening adventure and let the vibrant bell pepper medley brighten up your garden and meals!