
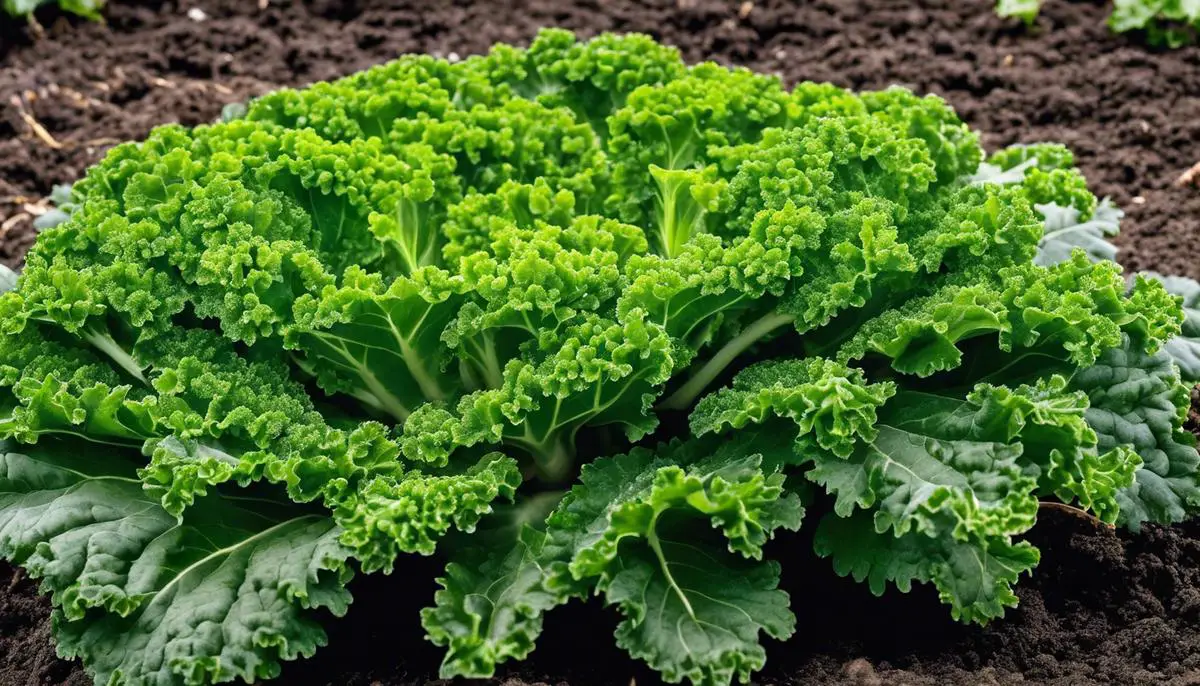
With its vibrant green leaves and nutritional powerhouse status, curly kale has become a beloved staple in gardens and kitchens alike. As a cool-season crop that can offer a bountiful harvest, understanding how to nurture this leafy green is essential for any home gardener looking to add both beauty and health to their edible landscape. The journey to a successful kale crop begins with choices about soil and location. A foundation of rich, well-drained soil coupled with the right balance of sunlight ensures that your curly kale has the best start. As we delve into the particulars of planting curly kale seeds, we’ll explore the subtleties of depth, spacing, and the tender care needed during those early stages of germination. Growing a robust and flourishing kale garden is not just about the initial planting, but also about the ongoing attentiveness to watering and fertilizing. These elements are the linchpins in cultivating curly kale that is not only thriving but also delicious to the taste.
Choosing Soil and Location
Curly Kale Cultivation 101: Soil Secrets & Spot-On Locations
When it comes to growing curly kale, the gardener’s motto should be: “Feed the soil, and the plants will follow.” This nutrient-packed superstar of the vegetable garden thrives in rich, well-draining soil and the right spot can make a world of difference in the health and productivity of your plants. So, let’s dig into the nitty-gritty of what makes the ideal soil type and location for planting your curly kale.
Reader Poll: What online courses would interest you?
First off, soil type. Curly kale prefers a loamy soil that straddles the line between sandy and clay. You want something that retains moisture without becoming waterlogged – think of a sponge that’s damp but not dripping. Aim for a soil pH that’s slightly acidic to neutral, somewhere in the range of 6.0 to 7.5. If you’re unsure of your soil’s pH, it’s worth investing in a test kit from your local garden center. Adjusting your soil’s pH can often be as simple as adding organic material or lime, depending on the direction you need to go.
Before you get those handsome kale plants in the ground, make sure the soil is rich in organic matter. Compost is a curly kale’s best friend; it not only improves soil structure and drainage but also adds a buffet of essential nutrients that kale loves. Work in a generous amount of well-rotted compost or aged manure before planting for that extra boost.
Now, let’s talk about the perfect location. Curly kale is somewhat of a garden chameleon, thriving in full sun to partial shade. In cooler climates, a sunny spot helps to warm the soil and speed up growth. But if you’re in a bit warmer zone, a location that offers some afternoon shade will prevent your kale from wilting in the heat of the day.
Subscribe to our newsletter!
Pay attention to wind patterns in your garden. While kale is sturdy, persistent strong winds can damage leaves and stress the plants. A spot that provides some protection – like near a fence or other vegetation – can serve as a shield and create a more favorable microclimate for your leafy greens.
When it comes to spacing, give your kale room to flourish. Plant seedlings about 18 to 24 inches apart – this allows ample room for growth and also encourages good air circulation, which is crucial for keeping pests and diseases at bay.
Last but not least, mind your kale’s neighbors. Curly kale plays well with others, particularly aromatic herbs or flowers that can help deter pests. Consider companion planting with herbs like dill or mint or flowers like marigolds to create a diverse and harmonious garden ecosystem.
In conclusion, remember that rich, well-draining soil and a sun-to-shade spot, protected from the wind, will set your curly kale up for a bountiful harvest. Happy gardening!
Planting Curly Kale Seeds
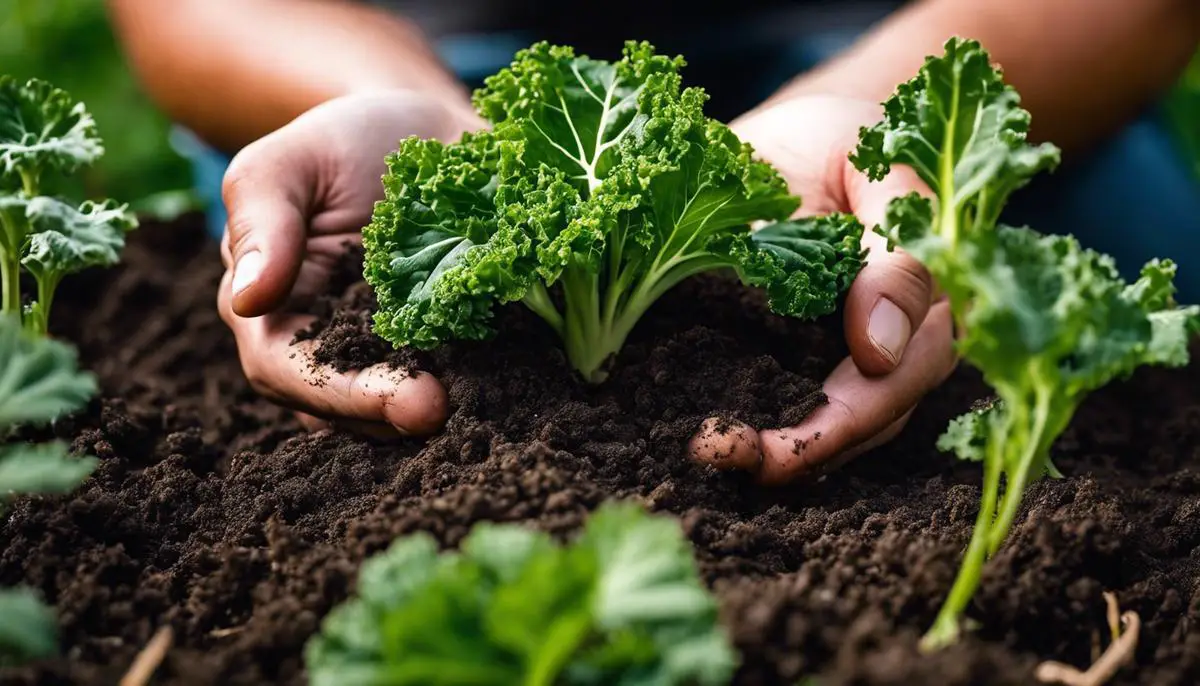
When it comes to sowing curly kale seeds properly, timing and technique are key to ensuring a bountiful harvest. With the soil duly enriched and prepped, let’s get to the fun part — planting those seeds!
Start by choosing the right time for sowing — early spring or late summer are ideal, as curly kale thrives in cooler temperatures. For areas with mild winters, a fall planting can also yield a successful crop.
Before sowing, be sure to mark out straight rows using a string line or a long stick, maintaining a distance of 18 to 24 inches between each row. This spacing is crucial for providing adequate air circulation and reducing fungal diseases once the kale matures.
Make a shallow furrow about 1/4 to 1/2 inch deep along your marked rows. It’s shallow, but just right for those tiny seeds to take root. Now, sprinkle the seeds sparingly into the furrows; an overzealous sprinkle can lead to overcrowding. At this stage, aiming for about one seed every inch is a good rule of thumb.
Once you’ve laid out your seeds, cover them lightly with soil. No need to compact the soil heavily – a gentle pat down will suffice to ensure good seed-to-soil contact. Keep in mind that curly kale seeds need some light to germinate, so that light covering is perfect.
Watering is next, and it’s vital to keep the soil moist but not waterlogged. Using a fine mist spray helps to prevent the seeds from being displaced by a deluge. A watering can with a fine rose attachment is the gardener’s go-to tool here.
As the seeds germinate and seedlings begin to sprout, watch for the two true leaves to appear — that’s the signal it’s time to thin out the weaker seedlings. Aim to leave about 12 to 18 inches of space around each strong seedling. This may seem like a wide berth, but remember, curly kale needs room to unfurl its leaves and flourish.
Thinning is an act of tough love, but essential for the overall health of your kale patch. Composting the thinned seedlings ensures nothing goes to waste, returning valuable nutrients back to the soil.
Finally, consistent watering, especially in dry spells, and a watchful eye for pests will keep your curly kale growing strong. Before you know it, you’ll be harvesting curly kale leaves for stir-fries, salads, and chips — enjoying the fruits, or rather the leaves, of your labor.
And there you have it, everything necessary to turn a tiny kale seed into a full-grown, leafy powerhouse. Remember, patience, care, and respect for the natural growing process are all part of the rewarding journey that is gardening. Happy planting and even happier harvesting!
Watering and Fertilizing Curly Kale
When it comes to ensuring your curly kale thrives, consistent watering and fertilization are key components in your gardening strategy.
Watering your curly kale should be done with care to prevent over-saturation or drying out. The aim is to maintain a consistently moist soil. During cooler seasons, this typically means watering once every 5 to 7 days. As the temperature rises or if you’re experiencing particularly dry conditions, you’ll want to increase the frequency to every 2 to 3 days. It’s best to water your kale early in the morning to reduce evaporation and allow the leaves to dry out over the course of the day, thus minimizing the risk of fungal diseases.
To check if your kale needs water, stick a finger an inch into the soil near the base of the plant. If it feels dry at that depth, it’s time to provide some moisture. When watering, aim at the base of the plant to minimize water contact with the leaves; a soaker hose or drip irrigation system works wonders for this.
As for fertilizing curly kale, it’s a hungry plant that needs a good amount of nutrients to produce those lush, leafy greens. Start by working a balanced organic fertilizer into the soil at planting time, following the package directions in regard to quantity. After that, side-dress with a nitrogen-heavy fertilizer every 6 weeks or so to promote leafy growth. Make sure to spread the fertilizer around the base of the plants and then water it in well to help disperse the nutrients into the soil.
For organic gardeners, compost or well-rotted manure can be an excellent alternative to traditional fertilizers. Apply a fresh layer around the base of your kale plants a few times during the growing season. The decomposing organic matter not only feeds the plants but also continues to enrich the soil’s structure and its ability to retain moisture.
Lasty, don’t forget that kale is a cool-season crop. When the temperatures start to soar, its water and nutrient needs can change. Growth may slow, and it may be time to provide some shade during the hottest part of the day. Similarly, during the coldest months, kale’s growth slows down and thus, its watering and feeding requirements diminish.
By following these guidelines, you can look forward to a bountiful harvest of curly kale that’s both nutritious and delicious. Whether thrown into a salad, sautéed as a side dish, or stirred into a hearty stew, your home-grown curly kale is sure to be a standout.
Embarking on the cultivation of curly kale can be a rewarding endeavor that culminates in the joy of harvesting your own fresh, crinkled leaves. The efforts spent carefully selecting the right soil, tending to delicate seeds, and maintaining the harmony of moisture and nourishment will all be reflected in the vibrant health of your plants. Whether gathered in crisp bunches for a nourishing salad or cooked down into a warming stew, the fruits of your labor with curly kale will bring a sense of accomplishment and a wealth of benefits to your table. As the seasons cycle and you continue to hone your gardening skills, it’s the committed care and learned aptitude that will see your kale gardens flourish year after year.