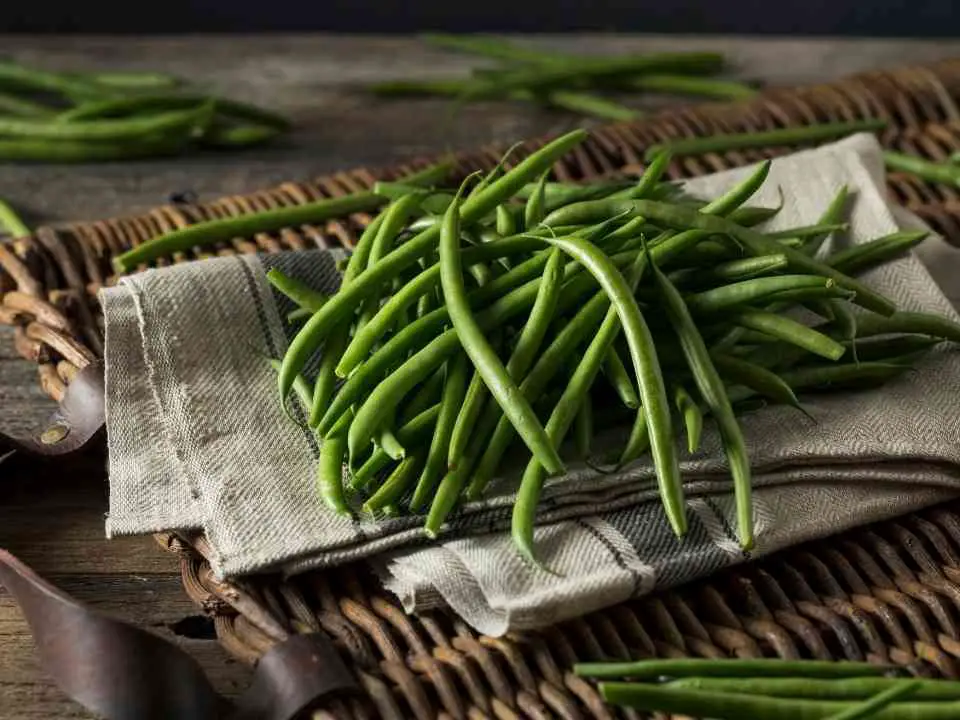
Packed with flavor and nutrition, green beans are one of the most popular vegetables to grow in home gardens.
It dosent matter if you have grown your own beans or brough them from the farmers market. Freezing is the best way to lock in all the freshness and nutrients to enjoy all year round!
Reader Poll: What online courses would interest you?
Unlike other vegetables that dont always taste great out of the freezer green beans are different. They freeze well and dont lose their flavour as long as you prepare them correctly.
Continue reading to learn how to blanch and freeze green beans in the best way possible to secure the maximum flavors and texture.

How Long Will Green Beans Stay In The Fridge?
Green beans will only stay fresh for 3 to 5 days when stored in the fridge. Depending on how many green beans you have it might be better to store smaller quantities in the fridge. When stored in this way, make sure you use it within the next few days. Once the veggies start losing their freshness, you’ll have to throw out any that remains. If you have more green beans than what you can consume within the next few days, consider freezing it.
Subscribe to our newsletter!
When To Freeze Them?
The key to enjoying the best flavor and texture with frozen green beans is to store them right away. Blanch and freeze green beans according to the instructions further downthe page. Do this just after you harvest them from your garden or bring them home from the farmer’s market.
How Long Do Green Beans Last In The Freezer
When you store them according to the instructions provided below, green beans will stay fresh in the freezer for up to 8 months! This means you can enjoy the taste of fresh summer vegetables any time during the rest of the year.
How To Freeze Green Beans: Step-by-Step Guide

Follow these three easy steps to blanch and freeze green beans and use fresh veggies through the coming months:
Step 1: Preparation
There are some steps involved to prepare the green beans for blanching. Here’s what you need to do before your veggies are ready for the next step:
Wash The Green Beans
Give the green beans a thorough wash in cold water. If you’ve harvested green beans from the garden, they might have dirt on them. Make sure to wash off with fresh clean water. Store-bought green beans may have traces of fertilizer, insecticides and other chemicals on them. Which is why a good wash is important to get rid of all the contaminants before you process it further.
Cut the Ends
Cut off the ends of the green beans, both the tail end and the stem end. Majority of the green beans available nowadays are “stringless”. However, if the green bean variety that you have includes a stringy fiber that runs down the pod, remove these too.
Cut Into Smaller Pieces (optional)
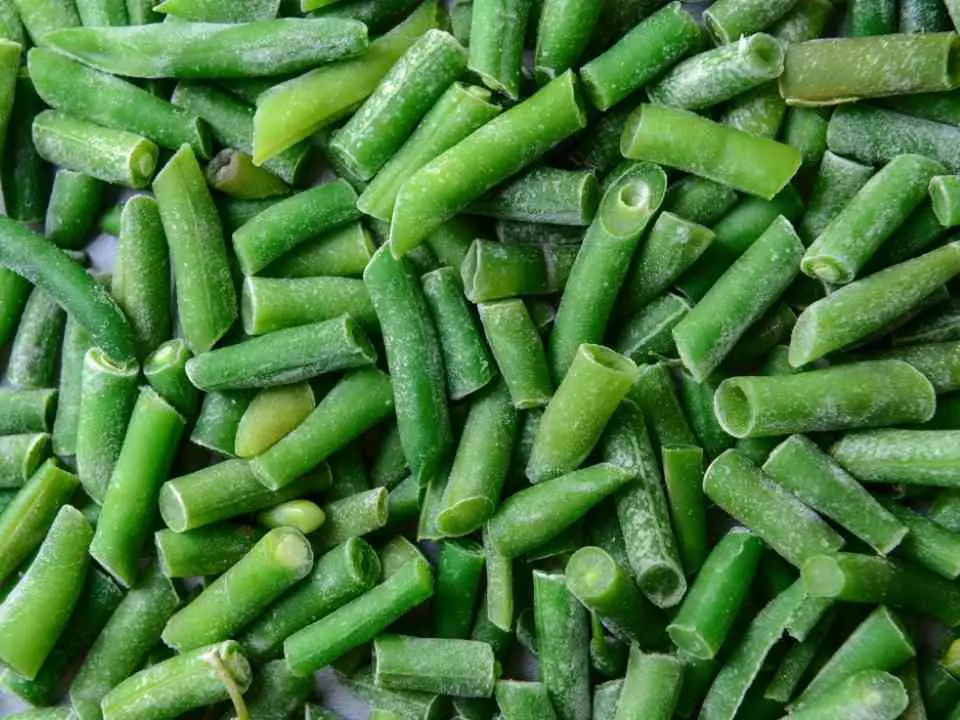
Depending on how you plan on using them later, you can either keep the green beans whole, or chop them into suitably sized pieces. Typically, full-sized green beans work great as side dishes and stir-fries while chopped pieces can be used for soups and stews. If you plan on including them in a variety of dishes, you can chop half of them, while keeping the other half whole.
Step 4: Blanch Green Beans
Once you’ve followed all the directions to prepare green beans, they are ready for blanching. Follow these steps to blanch green beans:
Boil Water
Boil water in a large pot. Once the water comes to a boil, add salt, about a tablespoon for each gallon of water.
Prepare Ice Water
While the water boils, take a large bowl and add ice water to it. Keep it aside on the counter because you’ll need it later.
Boil Green Beans
Add green beans to the boiling water in batches, depending on the amount of green beans you have and the size of the pot. Cook them in boiling water for 2 to 4 minutes, depending on the size of the pieces.
Transfer To Ice Water
Use a slotted spoon or a wire skimmer to scoop out green beans from the boiling water and transfer them to ice water. This step is important as it stops the cooking process abruptly and preserves the fresh green color of the veggies. Leave the green beans in ice water for 3 minutes.
Dry Green Beans
Spread out a towel on the counter. Use tongs to remove the veggies from ice water and transfer them to the towel. Pat them dry using the towel. It’s important to remove all extra water from the green beans before freezing them. Water increases the chances of freeze burn in veggies.
Step 5: Freeze Green Beans
Once the green beans are blanched and dry, they are ready for freezing. Here’s how to freeze them:
Line Them On Baking Sheet
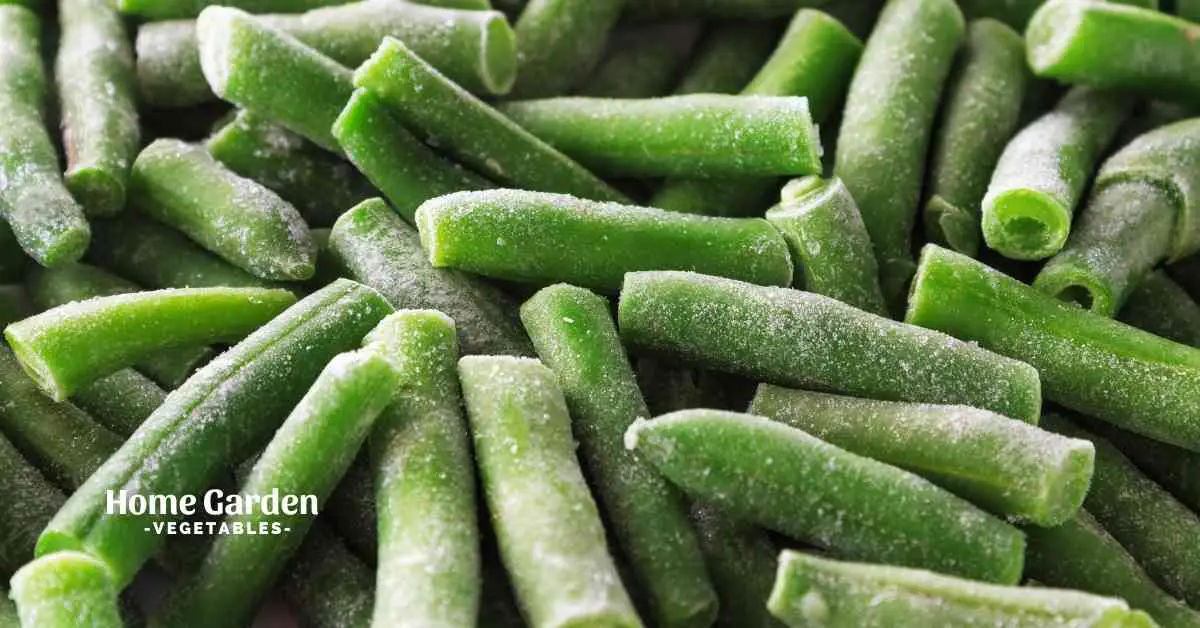
Line a tray with a baking sheet and spread out the green beans on it in a single layer. Freeze the tray until the beans are firm. This step before packing them in freezer bags ensures that the green beans don’t clump up.
Pack Them
Once the beans are firm, remove the tray from the freezer and transfer the beans to resealable bags. You can also store them in containers or jars. Make sure the beans are compacted and press the bags to remove any extra air from it. Label the bag with the packaging date.
Freeze Them
The final step is to place the sealed bags, containers or jars in the freezer. You can take them out and use any quantity that you require within the next 8 months.

Conclusion
That’s how to blanch and freeze green beans to store and use them for a long time! Though the process is very straightforward, it secures maximum freshness and taste. This will make sure you can enjoy fresh veggies for the longest time possible without making a trip to the grocery store.

