

Radishes, often overlooked but undoubtedly versatile, inject a vibrant pop of color and a crunchy texture into any dish. Despite their small size, these root vegetables pack a punch when it comes to flavor and nutritional benefits. Growing your own radishes brings about a certain pride in harvesting crisp, fresh produce straight from your own garden. The journey of becoming a successful radish grower requires comprehending ideal growing conditions, steps to plant and care for the crop, and understanding the nuances of harvesting and storage. This careful cultivation ensures that you can enjoy the fruits, or rather, radishes of your labor all year round.
Understanding the Ideal Growing Conditions
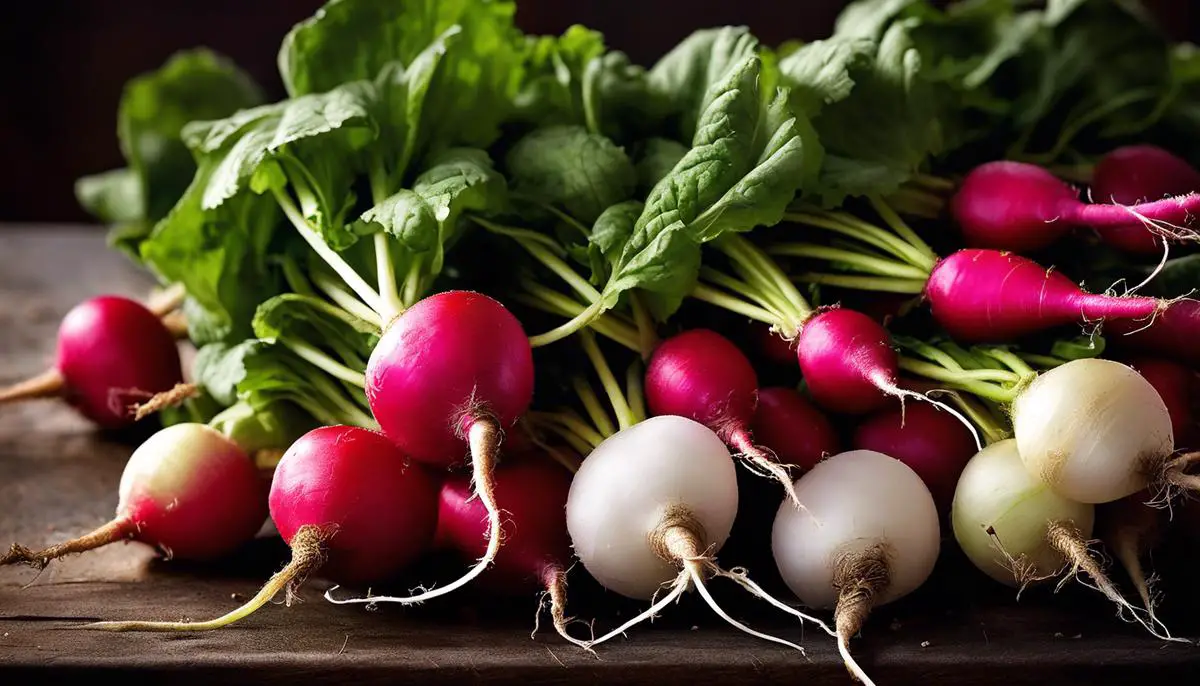
Title: Creating the Picture-Perfect Environment for Growing Radishes
Reader Poll: What online courses would interest you?
As all radish enthusiasts will wholeheartedly agree, there’s an unmatched sense of triumph in the unmistakable crunch and zing of a homegrown radish. If you’re as keen on radishes as we are here and want to nourish your own crop, look no further. This is your must-read guide on the ideal conditions for growing these vibrant little root veggies right in your backyard.
To see Fulbright radishes growing, one needs a blend of three perfect ‘S’s – Sun, Soil and Season!
Firstly, let’s delve into the role of the sun. Radishes are partial to full sun, basking in preferably six hours of sunlight each day. However, they do tolerate partial shade, making them fairly versatile in your garden layout. So, whether it’s a spacious backyard or a petite kitchen garden, radishes will happily add color to it!
Subscribe to our newsletter!
Moving on to the second ‘S’ – Soil. Radishes prefer well-drained soil, so think sandy or loamy soils that can hold moisture but drain excess water efficiently. The pH value of the soil should be between 6.0 and 7.0, so it’s worthwhile to invest in a good soil testing kit. Remember, overly compact or clay-like soils can lead to malformation and stunting of your radishes.
Enrich the selected soil with a good amount of organic matter before sowing. Organic manure, compost, or garden soil amendments that contain nitrogen will do the trick, promoting healthy foliage and speedy growth.
Finally, Season plays a crucial role in radish growth as well. Spring and fall make for ideal growing seasons, as radishes are cool-weather crops. Cooler temperatures ensure crisp and juicy radishes without them turning woody or bolt. Sowing two weeks before the last frost in spring and four to six weeks before the first frost in fall can give radishes the environment to truly shine.
While discussions on watering, spacing and pest management can go in-depth, we’ll touch upon them briefly here. Watering should be regular, aiming for soil that’s consistently moist but not waterlogged. A healthy 12-inch spacing between seeds will give the radish bulbs room to grow and prevent crowding. Pests and diseases can be combated with crop rotation and removing and destructing any diseased plants.
To sum up, if you provide our buddy the radish with lots of sunlight, well-drained, enriched soil, and keep a watchful eye on the seasons while maintaining regular watering and appropriate spacing, they’ll happily reward you with a bounty of vibrant, juicy delight. So, now the ball is in your court, fellow radish enthusiasts! Let’s turn those green thumbs into radish-red ones!
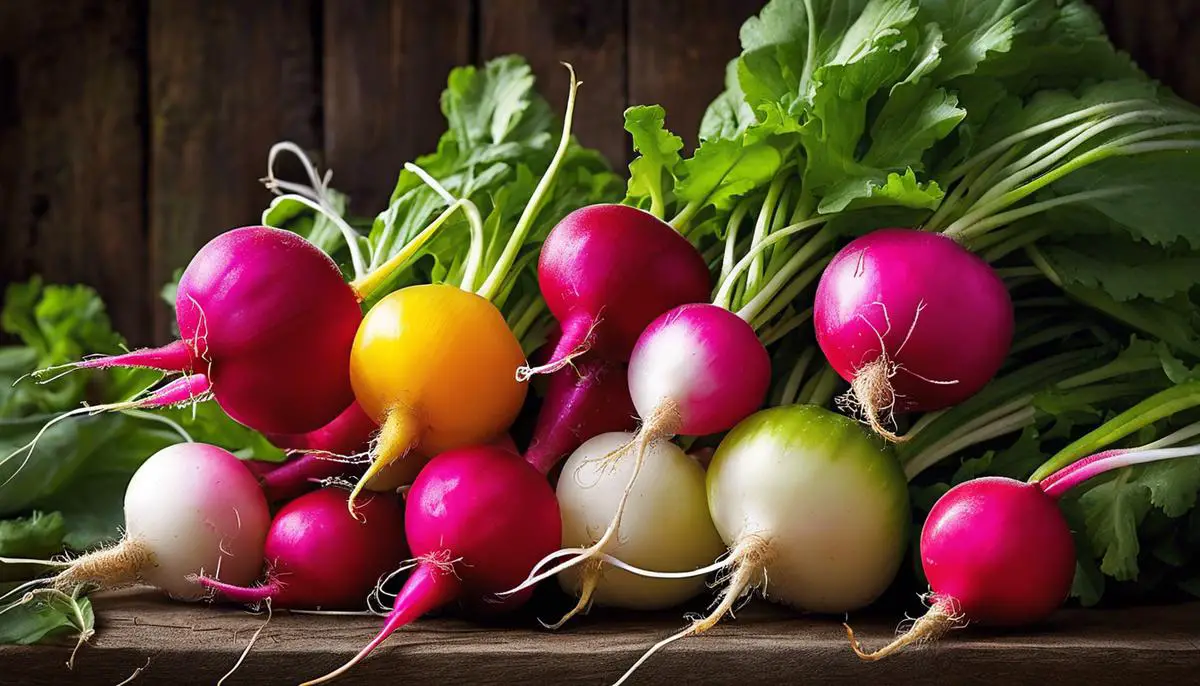
Steps to Plant and Care for Radishes
The Art of Planting and Nurturing Radishes: A Comprehensive Guide.
Radishes are evergreen favorites in the gardening world for their vibrant hues, crunchy textures, and relatively speedy growth. The beauty of radishes lies in their ability to flourish in containers, raised beds, or traditional garden soil. Now that you have bathed them in sunlight, enriched the soil, and mastered the watering techniques, it’s time to delve into the process of planting and the subsequent nurturing.
With a well-prepared soil rich in organic matter, the next step is the sowing process. Radishes require exact sowing for prolific growth. They are not fond of being transplanted; hence, sowing them directly in their growing area is the advisable route. The seeds should be sown approximately 1/2 inch deep. While it’s tempting to sow the entire packet of seeds, moderation is key. Sow the seeds at intervals over the course of a few weeks. This process, known as succession planting, ensures a continuous harvest of crisp, delectable radishes.
Germination of radishes typically occurs in 5-7 days. It’s essential to thin the seedlings to about 2 inches apart once they’re an inch tall. This process is crucial for the correct development of radish bulbs. Remember the spacing requirements mentioned earlier? Apply them here. An overcrowded radish patch will result in malformed bulbs.
Consistent watering is key to the growth of plump, juicy radish bulbs. Rather than overwhelming them, water in intervals, maintaining the dampness of the soil but preventing waterlogging. This watering technique deters the roots from growing too tough and woody.
The growth of radishes is notably fast-paced. They mature within 3-4 weeks and are ready for harvest. The tops poke out of the soil, exhibiting their vibrant colors when they’re primed for the picking. Harvest them promptly to avoid them becoming too pithy and spongy. A timely harvest also helps bypass the risk of splitting.
While growing radish crops, preventative measures against pests and diseases are vital, especially against the infamous radish flies. Installing a fine mesh cover over your radish patch can deter these unwelcome guests. In case of disease, rotate crops and avoid planting radishes in the same area for consecutive seasons.
Accommodating for radishes in your garden doesn’t necessitate a massive area, just your enthusiasm, and a thirst for fresh greens! So there you go, your guide to properly plant and nurture radishes! By adhering to these practices diligently, you can look forward to bountiful harvests of these piquant, crunchy wonders!
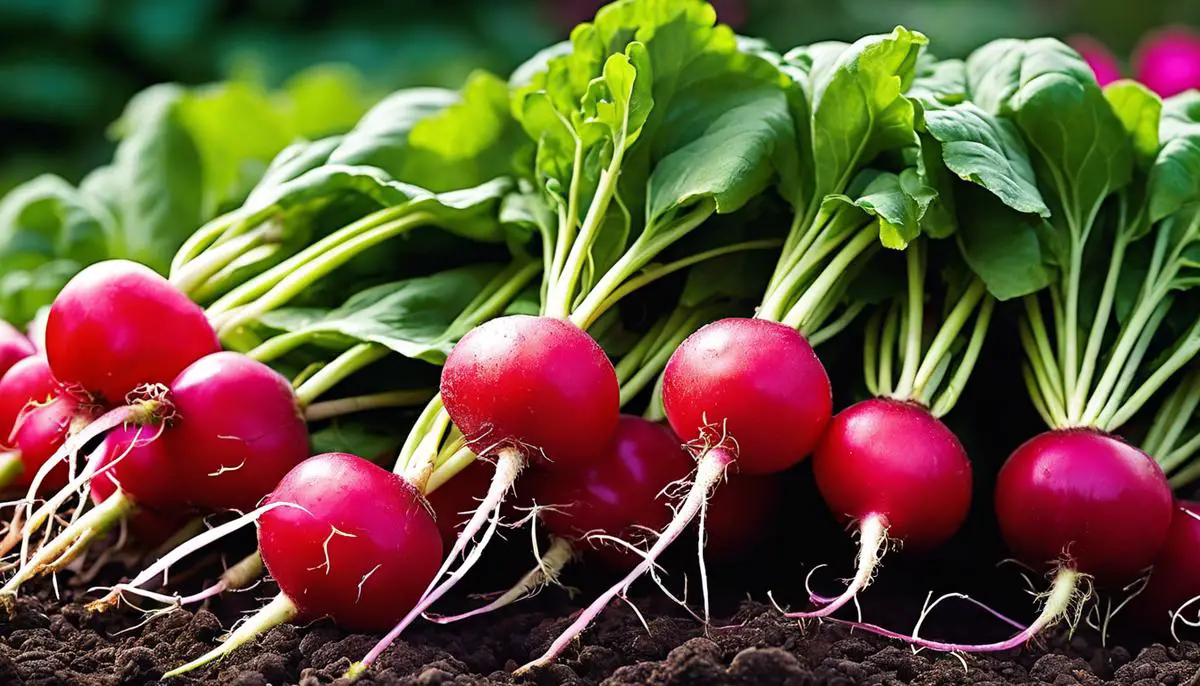
Harvesting and Storing Radishes
Radishes are a delightful, crunchy addition to salads, soups, and side dishes. Their vibrant color, crisp texture, and peppery taste make them a favorite among many gardeners. The joy of harvesting radishes never grows old – but how exactly do you know when and how to harvest and store them for maximum freshness and flavor? Let us delve into the details.
Harvesting radishes is a lesson in precision and timing. These garden treats mature rapidly, often between 3-4 weeks post sowing. This pace means they require your careful attention to prevent them from becoming overgrown, pithy, and overly spicy. Check your radishes’ progress regularly by gently brushing away the soil at the top of the radish. If you see a bright, round bulb, it is likely harvest time. The ideal radish diameter for harvesting is about 1 to 1½ inch, although it varies depending on the cultivar.
Harvesting involves a gentle tug, pulling the radish from the soil. Try to avoid leaving radishes in the ground too long, as radishes are one of those garden crops that tends to become woody and unpleasant if forgotten in the ground. If you’ve looked away for a moment and find over-sized bulbs, fear not! They can still be salvageable items in cooked dishes.
After a successful harvest, storage is the next vital step. Radishes come with a built-in storage alert; their leaves will wilt, signaling you that it’s time to store them. First, clean your radishes properly by rinsing them under cool, running water, gently rubbing away any lingering soil. Once they are well cleaned, pat them dry to prevent moisture from hastening spoilage.
When it comes to storing radishes, it’s best to remove the leaves, leaving about ¼ inch of stems. This helps minimize moisture loss into the leaves, maintaining the radish’s crispness longer. The radishes can then be stored in a breathable bag or a container in your refrigerator’s crisper drawer. They tend to remain fresh for about two weeks when properly stored.
Freezing can also be an option for longer storage, but this involves blanching the radishes first. Cut them into halves or quarters, then blanch in boiling water for 2-3 minutes. Immediately after, plunge them into ice water to halt the cooking process. Then, pat them dry and place them in a single layer on a baking sheet in the freezer. Once they’re frozen, transfer them into freezer-safe bags or containers for storage. This method changes texture and flavor somewhat, but they make a flavorful addition to soups and stews.
When stored correctly, radishes maintain their crunch and flavor, adding a delightful touch to a myriad of dishes. Your attention to the details of when and how to harvest, along with proper storage, will result in radishes that are a joy to taste, reminding you why they are worth every bit of effort in the garden. Happy harvesting!
The process of growing, nurturing, harvesting, and storing radishes carries its own rewards, offering not just a culinary delight but a therapeutic hobby. A well-cared-for radish plant can transform any garden with its lush green foliage and vibrant red fruits peeking through the soil. By following the detailed guidelines mentioned above, anyone from a novice to an experienced gardener can cultivate a successful radish crop. So, whether you enjoy radishes in your salads, soups, or just as a snack, remember the beautiful journey they’ve taken from a tiny seed in your hand to a vibrant vegetable on your plate, the product of your understanding, care, patience, and hard work.