

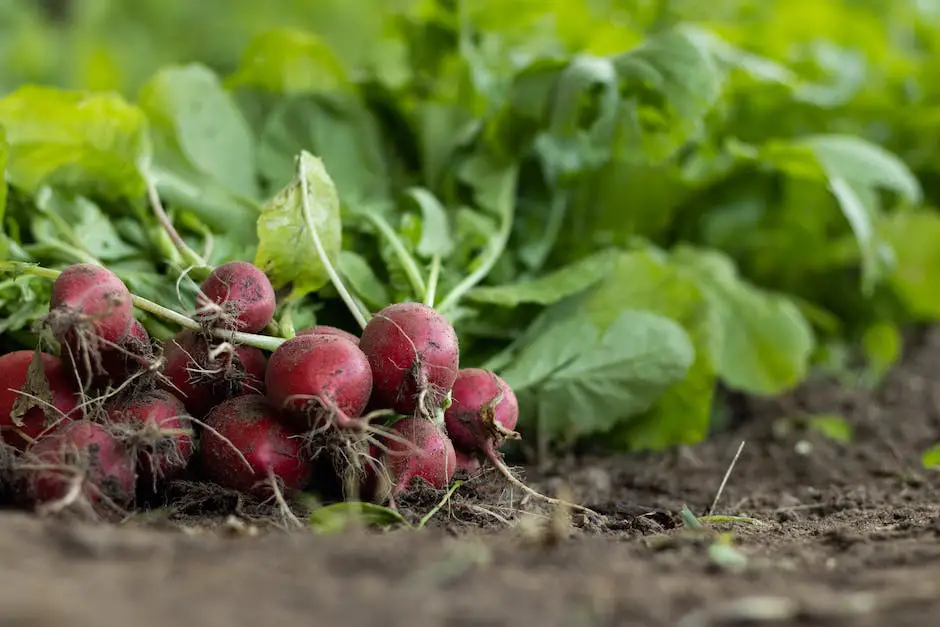
Growing your own vegetables can be an incredibly rewarding experience, infusing a sense of accomplishment and providing fresh produce right at your fingertips. Amongst an array of vegetables that can be grown, radishes hold a unique appeal. These small, punchy vegetables are known for their quick growth rate and versatility, making them an excellent choice for container gardening. This insightful piece will guide you through the critical factors influencing a successful radish container gardening experience, from choosing the right container and selecting the appropriate radish variety, to presenting guidance on optimal care requirements and ways to prevent and control pests and diseases. Lastly, we will unfold the secrets of identifying the right harvest time to preserving your radishes for extended freshness and flavor. Each of these areas aims to demystify radish container gardening and make it achievable and enjoyable for anyone interested.
Choosing the Right Container
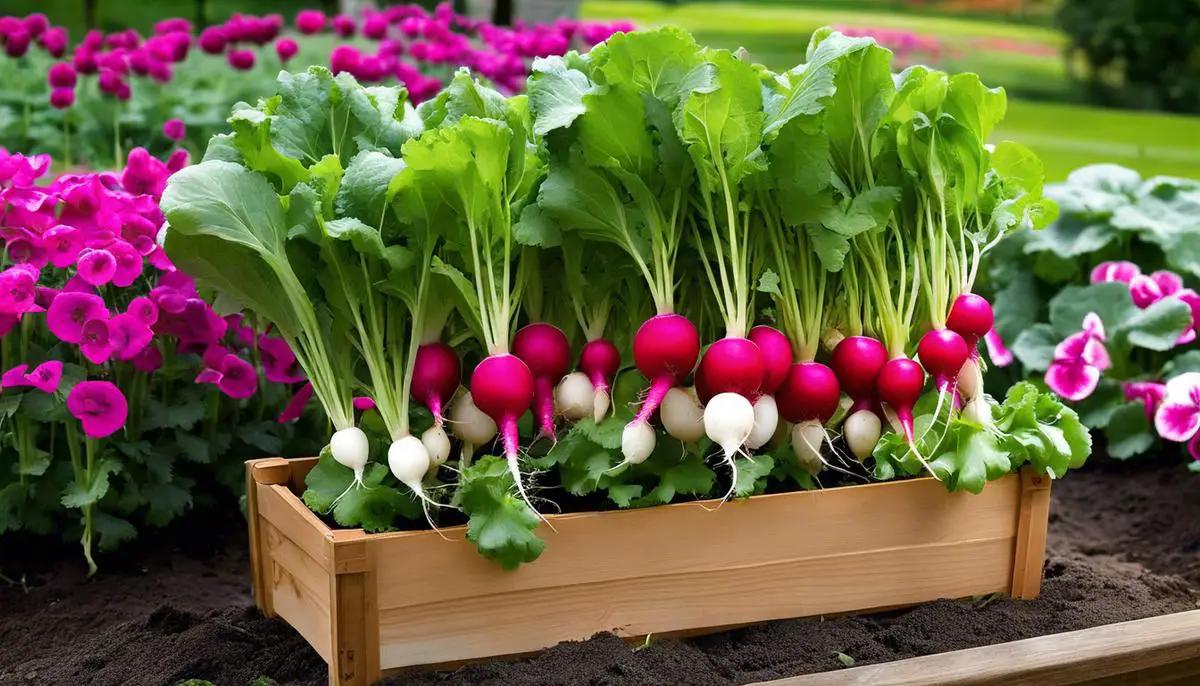
Picking the Perfect Pot: A Guide to Container Selection for Radish Gardening
Radish gardening is not just the thrill of watching those little greens poke their heads out from the soil; it’s a pursuit, a passion, a rewarding pastime. The secret behind growing eye-catching, plump, and juicy radishes often lies in choosing the right container. Every radish enthusiast will agree that container choice is not an aspect to overlook. This article peels back the layers on what factors to consider when making a selection.
Reader Poll: What online courses would interest you?
Size matters, and that’s especially true for containers. Radishes aren’t particularly deep rooters; they typically grow around 1-3 inches into the soil. However, the width is what makes the difference. Radishes need space to flourish without competing with their neighbors, so a container with a wide surface area is key. It is recommended to go for a pot at least 6 to 8 inches deep and with an ample spread.
Material is another pivotal point to ponder. Containers made of clay, plastic, ceramic, or fabric all have their advantages. Clay pots are excellent for maintaining soil moisture and maintaining temperature, but they can be heavy. Plastic pots are typically cheaper and lighter, but they may not offer the same temperature control. Fabric pots, increasingly popular among garden enthusiasts, promote excellent air and water circulation, but they may dry out faster.
Drainage is of pivotal importance in container gardening. Radishes dislike waterlogged soils. Too much water might lead to unhealthy radishes and a higher chance of root rot. Always opt for containers with sufficient drainage holes to allow surplus water to drain out, keeping the soil moist but not waterlogged.
Subscribe to our newsletter!
Temperature is another often overlooked factor when selecting a container for radish gardening. Certain container materials retain heat more than others; for example, plastic and metal pots tend to get hotter in the sun than clay or fabric. This could affect your radish’s growth, particularly if you live in a very sunny or hot climate.
Last but not least, let’s not forget about weight. Once filled with soil and water, containers can get surprisingly heavy. If mobility is a priority or if you will need to move your radishes to take advantage of sunlight or better shelter them from the weather, you might prefer lightweight containers.
In the world of radish gardening, containers are more than just random pots. They govern the health, growth, and vitality of the radishes. They are the cradles for these round, red-rooted delights. Remember, the right container can mean the difference between a good radish and an unforgettable one. Now, armed with this knowledge, let’s find those perfect homes for your radishes!
Radish Selection and Planting
Growing Radishes in Containers: Best Types and Planting Tips
Once container considerations are squared away in radish gardening, the spotlight shines brightly on the next crucial area – selecting appropriate types of radishes and understanding the best planting methods.
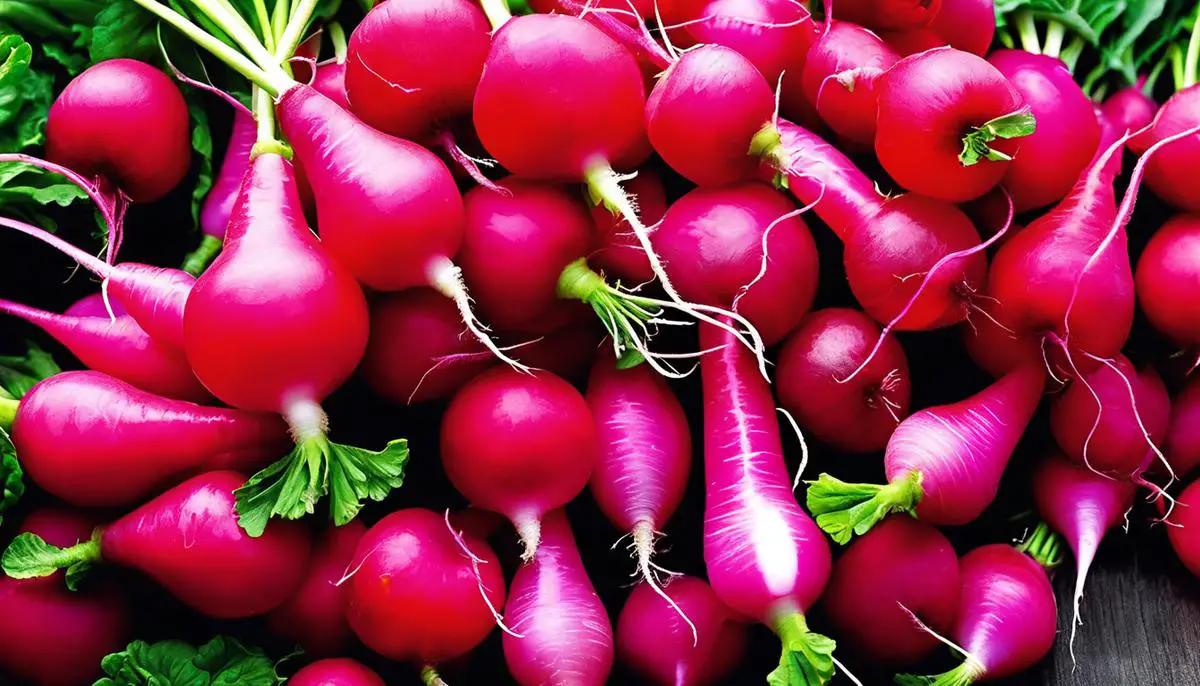
The beauty of radishes is their diverse range, offering a garden prolific in varied colors, shapes, and flavors. However, not all radishes are cut out for the portable life, so homing in on the perfect type for container gardening is vital.
Champion Radishes are a fan-favorite in the container gardening world and for good reason. They boast an early maturity date and grow smoothly in containers with their round globular shape. Their vibrant red hues bring a pop of color into your garden, making them an aesthetic, as well as practical choice.
On the other hand, for those desiring a crisp bite, French Breakfast Radishes offer a unique, elongated shape and a mild flavor. Despite their size, these radishes adapt well to container life, as long as they are provided room to grow deep.
Another container-friendly variety is the White Icicle Radish. It’s a hearty, dependable radish that caters well to containers due to its resistance to diseases and pests. Its elongated root depth calls for a deeper container but will reward gardeners with a pungent and peppery flavor.
The process of planting the radishes in containers mirrors our enthusiasm for this hobby. The method involves laying out the foundation with fertile soil. A loose, well-drained soil mix allows radishes plenty room to expand, creating their signature shape and crispiness. Adding equal parts of garden soil, compost, and peat moss works ideally to provide the necessary nutrients for the radishes to thrive.
A wise gardener embraces their hobby’s intricate nature, and so spacing in radish planting demands due diligence. Seeds must be sown approximately 1 inch apart, and half to one inch deep, ensuring each seed has its space to expand into a delicious radish.
Radishes appreciate the cooler conditions, so maintaining an ambient temperature of around 50-65°F (10-18°C) is ideal. This makes them perfect for early spring and fall gardening!
Remember, radishes are fast growers, and consistent watering is key to their growth. Over-watering can lead to splitting, and under-watering can stunt growth. Aim for the soil to feel damp, but not waterlogged.
Finally, in 3-4 weeks, you should see your radish tops peeping out of the soil. Embrace the joy of harvesting them! Twisting them gently out of the soil prevents any damage to the roots and leaves you with a fresh, homegrown radish.
In conclusion, container radish gardening truly embraces the spirit of hobby gardening. With an array of suitable radish types and a focus on planting techniques, every garden has the potential to turn into a cornucopia of tasty, colorful radishes to enjoy.
Optimal Care Requirements
Diving further into the radish journey, once the right container has been selected, and the right radish type has been sowed into that fertile, well-drained soil, now the true nurturing process begins! Understanding the radish’s lifecycle and what it needs at each stage is vital for any hobbyist, aiming to see the transformation from seed to edible root.
Radishes are unique as they’re cool-weather crops with a fast maturity cycle. Container-grown radishes require consistent moisture for optimal growth. The goal with watering is to keep the soil evenly moist, but not waterlogged. They should be watered once the top inch of soil becomes dry, during cooler weather this could mean watering only twice a week, but in hotter, drier conditions more frequent watering may be needed – daily even. And remember, overwatering could lead to root rot, while underwatering may cause the radishes to become tough and pithy.
Sunshine is the next significant factor. Radishes relish in full sun to partial shade, needing around six hours of sunlight per day. Depending on the container’s location, this might require moving it around to avoid scorching afternoon sun, or to ensure the radishes are getting the sun’s morning rays. Grow lights can be a handy tool for those overcast or shorter winter days.
To facilitate the best possible growth environment, paying attention to their nutrient intake is tremendously important. While radishes don’t require a lot of additional nutrients, a balanced organic fertilizer applied at planting time can give them a good start. Opt for a water-soluble fertilizer with balanced proportions of Nitrogen, Phosphorus, and Potassium (N-P-K ratio).
Observation of the radish leaves can give helpful cues about their health. Yellowing leaves might imply an overwatering issue or a nutrient deficiency, while wilted leaves might suggest underwatering or excessive heat.
Pest control is a crucial aspect! Aphids, flea beetles, and maggots are typical pests eager to devour your radish plants. Regular inspection and organic pest-control measures such as insecticidal soaps, neem oil or introducing beneficial insects like ladybugs can help to maintain a healthy radish garden. Sluggo is a safe, non-toxic method to handle slugs and snails.
Towards what seems like the end of the radish-growing journey, remember the harvesting time is as essential as the growing stage. Radishes are best harvested while young and tender, between 3-5 weeks after sowing, depending on the cultivar. In most cases, the radish is ready for harvest when the diameter across the top of the radish measures approximately 1 inch. But don’t fret if forgotten, they simply become spicier and a bit tougher but are still edible.
Radish cultivation is a process filled with delight, surprises, and reveals. Taking a seed and nurturing it into a root that’s plump, crunchy, and full of flavor is a garden-to-table experience that’s not just enriching but also exceptionally satisfying. It brings out the inherent naturalist within one, understanding and harmonizing with the patterns, rhythm, and the voice of nature’s own rhythm. Now let’s go sow some radishes! Happy gardening!

Prevention and Control of Pests and Diseases
Diving deeper into the robust world of container-grown radishes, it’s essential to comprehend the intricacies related to common pests and diseases affecting these crimson crunchers. They might be tough and resilient, but they’re not totally invincible!
One prevalent issue that container gardeners face is the presence of pesky pests, notably the root maggot fly. This dastardly creature lays its eggs at the stem base, and the hatched maggots burrow into the radish, causing extensive damage. It’s wise to introduce beneficial nematodes into the soil before planting, these microscopic organisms hunt down and eliminate maggot larvae, keeping those radishes safe and sound.
Aphids, small sap-sucking insects, are another common intruder. They can be controlled by introducing some of their natural enemies like ladybugs and aphid midges to set up a battle royale where the radishes always win. Alternatively, using an organic insecticidal soap can also be effective but remember to keep it eco-friendly!
Even fungi find radishes too hard to resist. Black root, a soil-borne fungal disease, causes dark spots on radish roots and can lead to wilting. Ensure your containers have excellent drainage and avoid overwatering as fungi thrive in waterlogged conditions. Combining these preventative measures with the use of organic fungicides can be mighty helpful.
Another furtive fungus, Rhizoctonia solani, results in wirestem, where the radish’s stem near the soil line turns woody and constricts the plant. Rotating crops in your containers and employing a high-quality, disease-resistant compost can provide effective control against this disease.
Clubroot, another common disease caused by the Plasmodiophora brassicae fungus, results in stunted growth and swollen roots. Maintaining an alkaline soil pH above 7.2 and employing good hygiene practices, such as sanitizing containers and tools, can help prevent its spread.
Remember, radish plants are edible from root to leaf, so leaf-eating insects can also pose a challenge. Crop rotation should generally ward off most pests and diseases, but in the case of persistent critters like loopers, a non-toxic Bacillus thuringiensis (Bt) solution could be just the ticket.
To maintain top-notch container conditions, regular inspection and vigilance are non-negotiable. Remember, the fun of container radish gardening doesn’t stop post-planting – dealing with these challenges and ongoing care is part of the radish-raising journey. So let’s embrace every step, from plucking pests to squashing pathogens, always with an unyielding spirit and love for these rambunctious radishes. After all, how rewarding is it to serve up a salad with home-grown radishes, knowing the care you’ve put into those punchy red orbs? So put on those gardening gloves and delve back into your container garden, where radishes are waiting for your care.
Harvesting and Storage
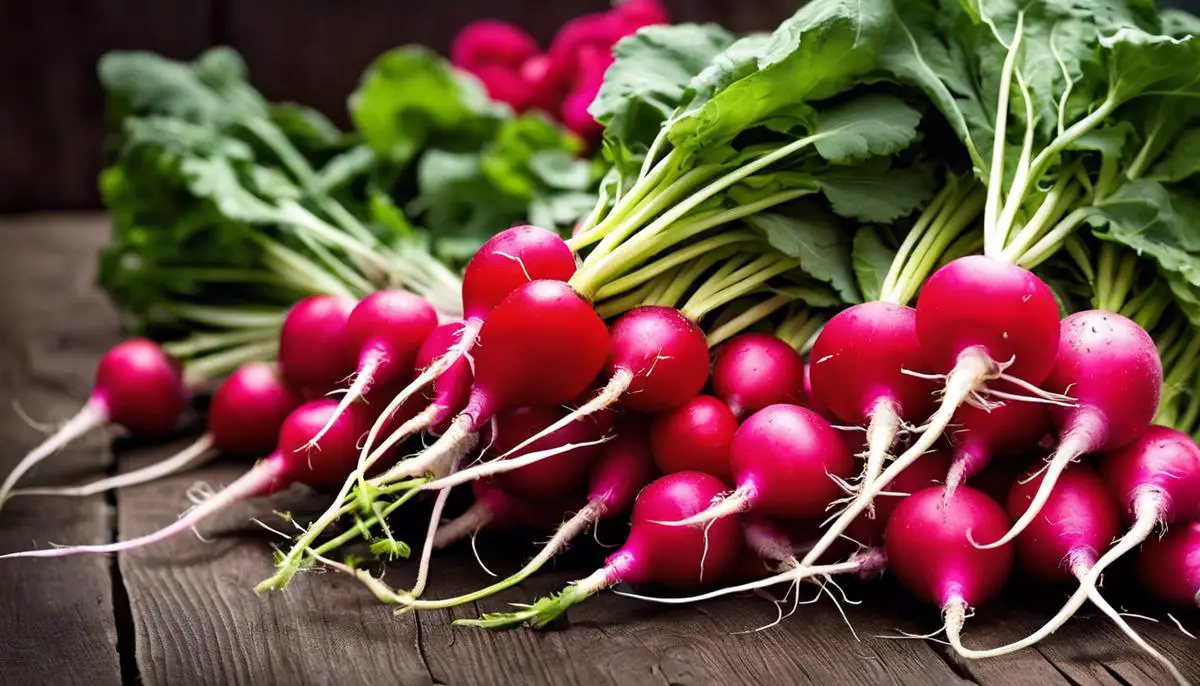
Now that we have established the fundamental basis of container radish gardening, it’s time to delve deeper into the final phase of this vibrant hobby: The harvest and safe storage of radishes!
When should one harvest container-grown radishes?
Generally, radishes tend to mature rather quickly, often within 3-4 weeks after planting. However, the exact timing may vary depending on the radish variety. The best method to determine whether a radish is ready for harvest is to visually inspect it. When the top of the radish has peeked above the soil level and measures approximately an inch in diameter, it is usually ready to be plucked. Be mindful that leaving the radishes in the ground for too long can result in a woody texture, below par taste, and is a dinner invitation for pests.
How to harvest radishes?
Gently grasp the radish foliage at the base, near the ground level, and pull upwards with a steady hand. It’s preferable to harvest in the cooler hours of the day to reduce stress on the plant. If the radish doesn’t come out smoothly, and to avoid any potential harm to the root, use a hand trowel to ease out the soil around the radish and then try to pull it out. Subsequently, brushing off excess soil (but resisting the tempter to wash) will make them suitable for short term storage.
Aftercare
After harvesting, you may come across radishes of varying sizes – a small celebration of each plant’s unique journey. Larger radishes can be used immediately, while the smaller ones can be left in the container for an additional few days to gain size. Don’t forget to remove the tops before storing unless you plan to use them urgently, as they can draw moisture from the radishes making them limp and less appetizing.
Storing radishes correctly
The scrumptious bounty from your container garden deserves optimum storage conditions to maintain their crisp texture and piquant flavor. Radishes store best at cool temperatures and high humidity. An optimal approach would be to place them in perforated bags or a container with a loosely fitted lid and then in the crisper drawer of your refrigerator.
If you’ve grown watermelon radishes or daikon, which are larger than most other varieties and used differently in cooking, you can wax them and store them in a cool and dark corner of your cellar or basement. This method can keep them fresh for several months.
It’s important to note that radishes, like carrots and turnips, can also be left in the ground and harvested as needed until the ground freezes. However, this approach more applicable to garden plots rather than container-grown radishes.
And there you have it! Armed with these nuggets of knowledge, you’re equipped to enjoy the fruits, or rather ‘roots’, of your labor. Embrace the thrill of the harvest and the joy of savoring your home-grown radishes. Container radish gardening offers a marvelous way to engage with nature and enjoy the simplest pleasures it provides. Happy Gardening!
Nurturing radishes from seed to harvest can offer not just a vibrant addition to your meals, but an enriching journey as well. By giving meticulous attention to crucial factors such as container and radish selection, offering optimal care, and addressing potential deterrents in the form of pests and diseases, you are well on your way to savoring the rewarding experience of successful radish container gardening. The details shared on harvesting and storage practices seal this process, offering ways to value your hard work further by ensuring the radishes’ freshness and flavor stay intact. With the understanding and knowledge offered here, gardening enthusiasts and beginners alike are empowered to step confidently into the enticing world of radish container gardening and enjoy the granular process and its flavorful results.