Garlic, loved globally for its pungent flavor and countless health benefits, has a fascinating growth process that many are not aware of. Expanding your knowledge about this humble plant will not only deepen your appreciation for it, but could also inspire you to cultivate your own. In this deep-dive, we will walk through the entire lifecycle of a garlic plant, from planting, germination, and sprouting to bulb development. Moreover, we will help prepare you for potential challenges that may arise by discussing common diseases, pests, and growth issues that often affect garlic, alongside effective solutions to ensure robust yields. Finally, we’ll provide a comprehensive guide on when and how to harvest your garlic and the correct techniques for drying and storing to maintain quality and freshness.
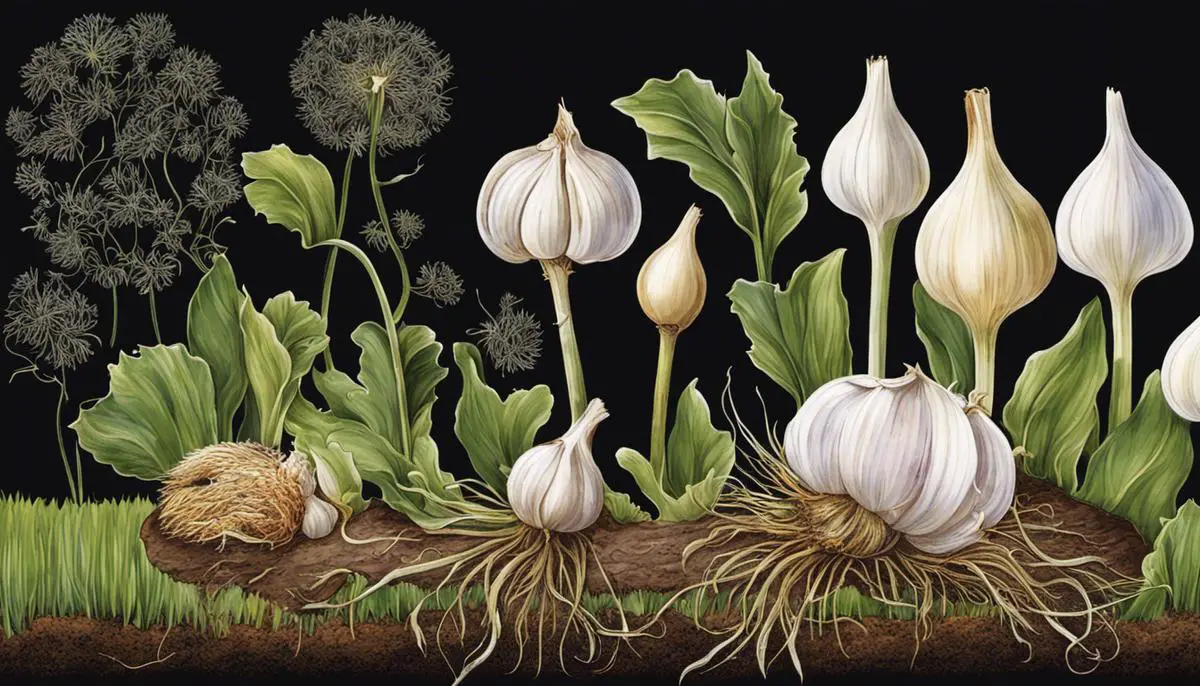
Understanding the Lifecycle of Garlic
Planting Season for Garlic
Garlic planting season is typically in the fall for optimal yield and quality, but it can also be planted in early spring. The planting month generally is October in most regions, allowing the garlic bulb to establish its root system before winter arrives, but the exact time can vary depending on the location’s climate.
Reader Poll: What online courses would interest you?
Garlic Seed Preparation
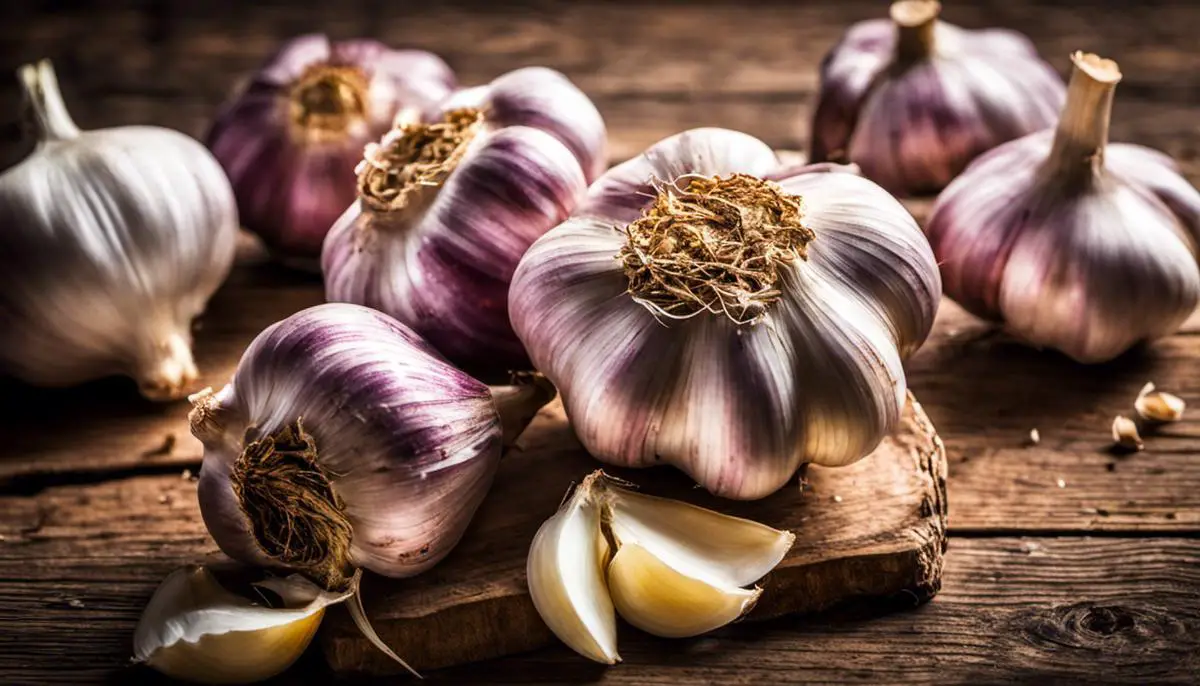
Correct preparation of garlic for planting is another crucial stage. Each bulb of garlic is broken apart into individual cloves shortly before planting, making sure to keep the paper husk on each clove to protect it. These cloves are then typically planted about two inches deep, with the pointed end directed upwards.
Germination of Garlic
Germination occurs when the garlic cloves take root and begin to sprout while underground, usually within two weeks of planting. During this stage, the garlic plant starts the development of its root system. Eventually, this network of roots will anchor the garlic plant securely in the soil and facilitate nutrient intake.
Sprouting of Garlic
Following germination, the garlic begins to sprout, pushing fresh green shoots up through the soil’s surface, typically during early spring. This shooting phase signals that the garlic plants have successfully overwintered and are now actively growing.
Subscribe to our newsletter!
Leaf Development
As temperatures continue to rise into late spring, the garlic plant grows taller and develops leaf structures. Each leaf signifies the potential for a new layer of the bulb wrapper, and the stronger these leaves are, the better protected the garlic bulb will be.
Bulb Development
The most important stage in garlic’s growth cycle is bulb development, where the garlic plant forms the segmented bulb structure familiar to most people. This begins mid-spring as daylight hours lengthen and temperatures warm, and continues into early summer. The underground cloves swell and separate, packing on weight and size until reaching maturity.
Scaping and Flowering
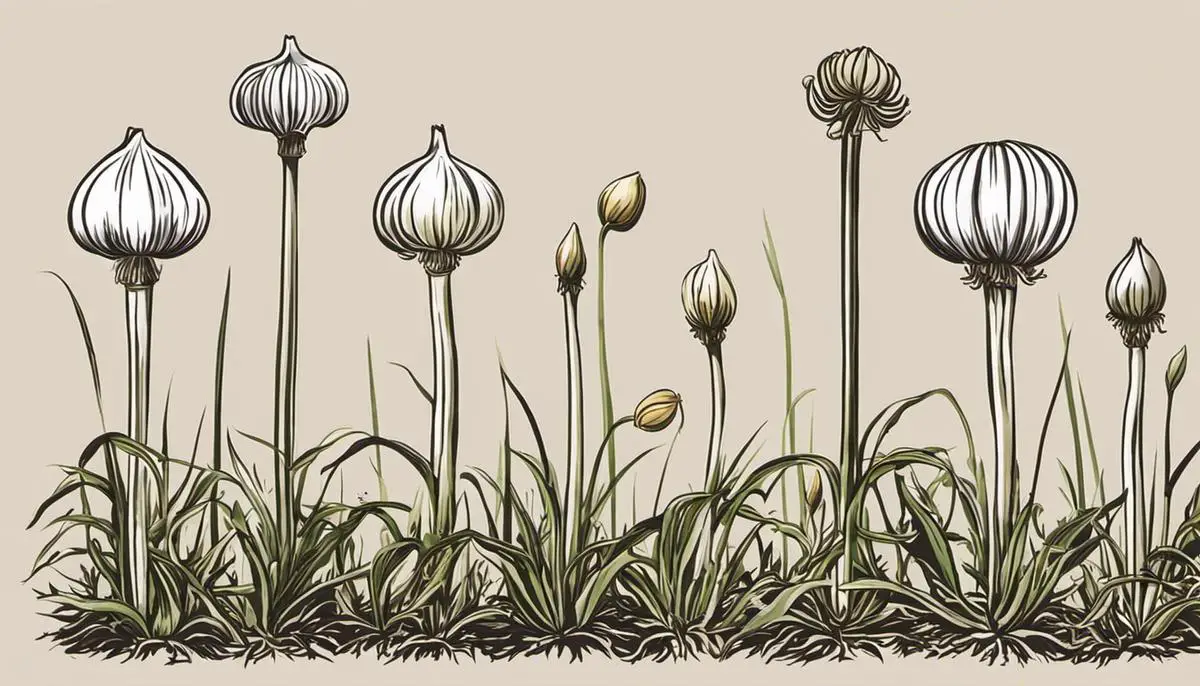
In hardneck garlic varieties, a long, curly scape emerges from the center of the plant in early summer, signaling the end of the bulb’s growth phase. This feature bears a cluster of bulbils, or miniature garlic bulbs, which will develop into flowers if left intact. However, most growers remove these scapes to redirect the plant’s energy towards growing larger bulbs rather than producing flowers.
Harvesting
Garlic is typically ready to harvest in mid-summer once the lower leaves have started to yellow and wilt. Harvesting should ideally take place on a dry day to minimize moisture content. After being harvested, garlic needs to be cured by keeping it in a warm, dry, and well-ventilated area before long-term storage or use.
Understanding the various stages of garlic’s lifecycle aids in maintaining a robust growth and garnering a healthy and abundant harvest. Each stage is crucial, necessitating careful observation and preservation to maximize the plant’s vitality and yield.

Identifying and Addressing Common Problems in Growing Garlic
The Prevalence and Identification of Common Garlic Diseases
One of the challenges that comes with the cultivation of garlic includes an array of diseases like White Rot, Basal Rot and Downy Mildew. The fungal pathogen, Sclerotium cepivorum, causes white rot which is discernible as a fluffy white growth on the bulb’s base and roots. It is common for infected garlic plants to exhibit yellowing leaves as decaying roots eventually cause the plant to fall over. Managing this disease requires rigorous crop rotations and strategic application of fungicides prior to planting.
Another prevalent disease, Basal Rot, is caused by Fusarium culmorum, and tends to occur during post-harvest storage. Indications of this disease are discolored and decaying bulb base and roots. Infected cloves typically fail to sprout, or if they do, they tend to die early. To handle Basal Rot primarily involves sanitizing the planting area and an effective treatment of fungicide.
Downy Mildew, a destructive disease caused by Peronospora destructor, primarily targets the plant’s leaves. Yellow patches that eventually brown are the prime symptom, which hinders the garlic plant’s growth. Methods of combating this disease include crop rotation, planting disease-free sets, and a well-executed application of fungicides.
Common Garlic Pests and Solutions
Garlic can be infested by pests such as onion thrips, nematodes, and leek moth. Onion thrips are small insects that cause silvering or bleaching of leaves, leading to tip dieback and reducing bulb size. Regular spraying of insecticides and introducing natural predators like ladybugs and lacewings can effectively control thrips.
Nematodes, microscopic worms, can cause stunted growth and yellowing leaves. They are usually managed by practicing crop rotation, adding compost to the bed, and planting resistant varieties.
The leek moth can cause severe damage to garlic plants, causing the leaves to exhibit a windowpane-like appearance. Handpicking and destroying the larvae can help control this pest, as well as natural predators and pheromone traps.
Addressing Garlic Growth Issues
Garlic growth can be hindered by several problems, one being yellowing leaves. This issue could be the result of overwatering, nutrient deficiencies, or diseases. Reducing the watering frequency might help if overwatering is identified as the cause, while a nitrogen-rich fertilizer can address nutrient deficiencies.
Another challenge is poor bulb formation, which can occur due to mistaken planting time, inadequate sunlight, or insufficient water. Altering planting schedules, ensuring sufficient sunlight, and appropriate watering can significantly improve bulb growth.
Waterlogged soils can also lead to subpar growth and potential disease. For optimal garlic growth, a well-drained, loamy soil is recommended.
Implementing proper planting and maintenance best practices can substantially increase the likelihood of yielding a healthy garlic crop.

Harvesting and Storing Garlic
Identifying Harvest-Ready Garlic
Garlic plants usually require a nine-month growing period to reach maturity. Nonetheless, the precise timing can fluctuate based on the garlic variety and specific regional growing conditions. A key sign indicating that the garlic is ripe for harvesting is the state of the plant’s leaves. Typically, when around a third or half of the leaves have browned and started wilting, this signals that the garlic bulbs are mature and can be harvested. However, if all the leaves turn brown, it might suggest that the garlic has exceeded its prime harvesting time and its quality could be diminished.
Harvesting Garlic: Tools and Techniques
The tools required to harvest garlic are quite basic: a garden fork or a spade and gloves. Using a spade or garden fork, gently loosen the soil around the garlic bulb. Avoid piercing the bulb as this can cause damage and potentially lead to rot during storage. Once the soil has been loosened, grab onto the garlic plant’s stem and lift the bulb out of the ground. Be mindful to lift with a steady, yet gentle force since yanking it can cause the stem to separate from the bulb.
Post-Harvesting: Cleaning and Curing
Once harvested, gently shake the garlic to remove any excess soil and brush off any remaining dirt. Washing is not recommended as it can encourage mold during the curing process. To cure garlic, lay the harvested bulbs on a flat surface in a well-ventilated area, out of direct sunlight and rain for 2-4 weeks. Ensure all sides of the garlic receive good airflow. This process helps to dry the outer wrappers and will enhance the garlic’s storage longevity.
Storing Garlic: Proper Techniques for Longevity
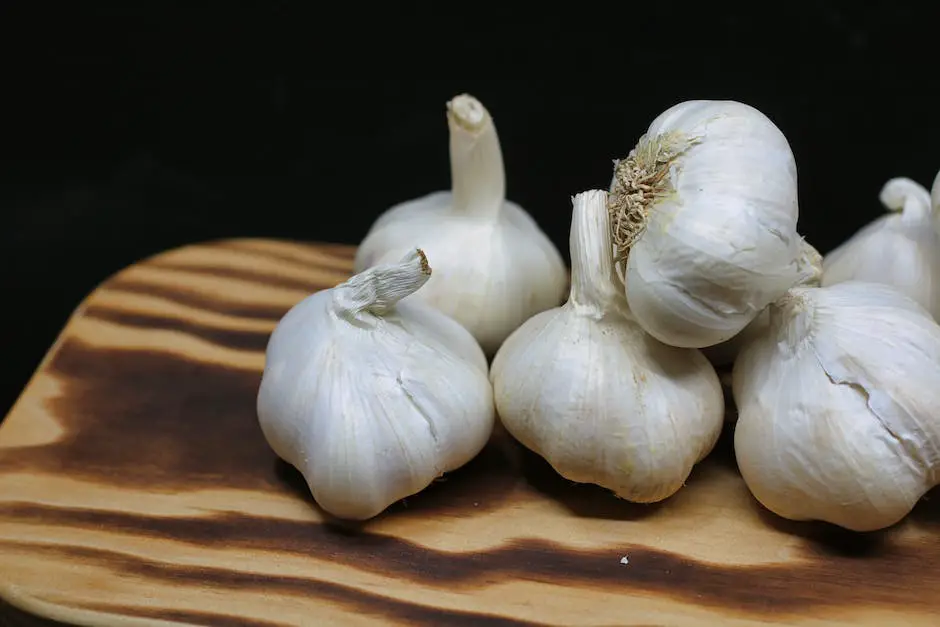
After curing, the garlic needs to be prepared for storage. Remove any remaining dirt and trim off the roots. You may also trim the stalks to about an inch above the bulb. Softneck varieties can be braided together for storage. Store garlic in a cool, dry place with good air circulation. A mesh bag, paper bag, or a crate can serve as suitable storage vessels. It’s ideal to store garlic at room temperature, around 60-70°F. Under proper conditions, good quality garlic can be stored for 6-8 months or even up to a year.

Armed with this comprehensive knowledge of the lifecycle of garlic, from planting and growth to troubleshooting issues, and finally, harvesting and storing, you’re well equipped to cultivate this flavorful and beneficial crop. Whether you’re a novice gardener keen on a new project or a garlic lover wanting to grow your own supply, understanding this process will certainly enrich your experience and potentially yield a bountiful harvest. Just remember, growing garlic, like any plant, requires patience, attention, and a bit of experimentation, but the reward of homegrown, fresh, and flavorsome garlic is undoubtedly worth the effort. Happy gardening!

