
Embracing the art of pickling cucumbers extends beyond just creating a delightful, crunchy snack. This process, deeply rooted in culinary history, allows us to preserve the freshness of harvest and enjoy the quintessential tangy flavor all year round. Our journey to mastering this artistry is divided into three fundamental parts: choosing and preparing cucumbers for pickling, creating a perfect pickling brine, and understanding the pickling process and storage. We’ll start by familiarizing ourselves with various cucumber varieties that are ideal for pickling, how to choose firm and fresh cucumbers, and the best practices for cleaning and slicing them. Next, we’ll unlock the secrets of making an ideal pickling brine, exploring the diverse types of vinegars available, learning the right proportions, and identifying the spices that enhance the flavor. Lastly, we will delve into the actual pickling process, understand the optimal duration for preservation, and discover how to store these pickles to maintain their quality and prolong their shelf life.
Choosing and Preparing Cucumbers for Pickling
The Pickling Pro: Selecting and Prepping the Best Cucumbers for Your Pickles
It’s in every pickle aficionado’s best interest to become well-versed in choosing and preparing cucumbers to yield the tastiest pickles. After years of immersing in the joy of pickling, there’s a sound grasp of the nuances that play into picking and prepping cucumbers to share. So without further ado, let’s delve right into it.
Reader Poll: What online courses would interest you?
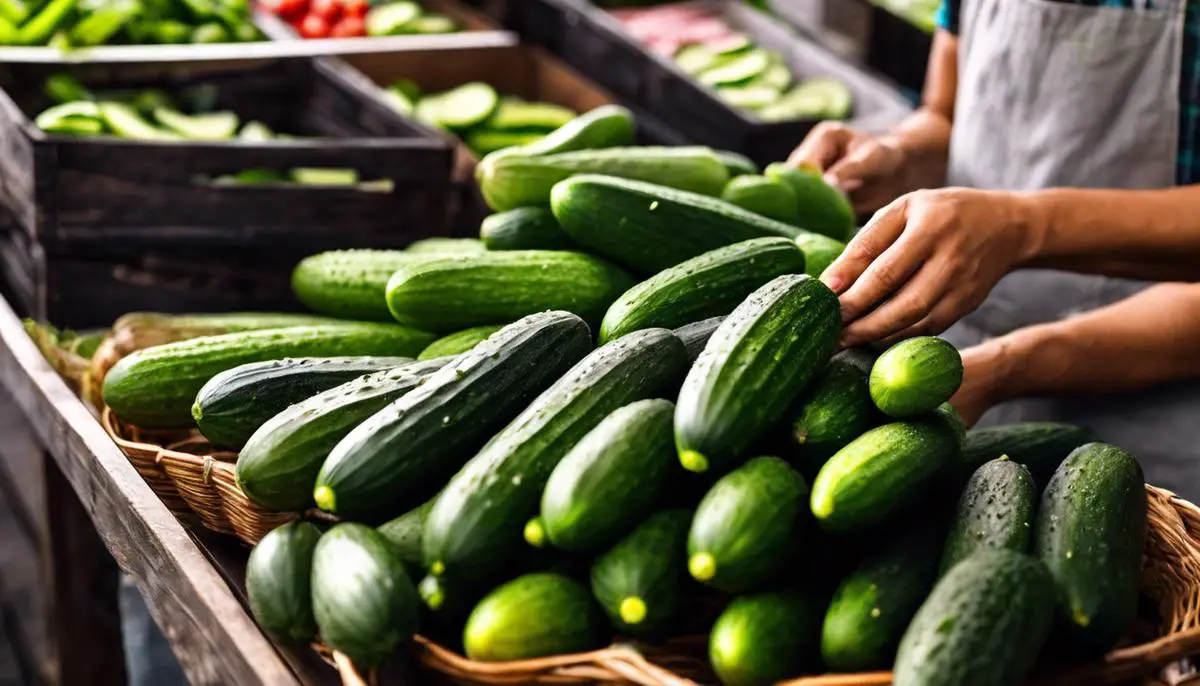
Choosing the Best Cucumbers for Pickling
- Kirby Cucumbers- Often dubbed as the best pickling cucumbers on the market, Kirby cucumbers are short, stocky, and crisp. They boast a thick skin, lots of crunch, and when pickled, they resist turning into mush.
- Persian Cucumbers- These cucumbers are similar to Kirby cucumbers, but they are a little longer, often ranging between four to six inches. They are thin-skinned, virtually seedless, and packed with a robust flavor that makes for a great pickle.
- National Pickling Cucumbers- Bred precisely for pickling, these cucumbers bear a classic cucumber look. Their size varies from small, which is ideal for whole pickling, to medium or large, perfect for spears and slices.
Now, onto preparing them for pickling…
Preparing Cucumbers for Pickling
- Cleaning: After selecting the perfect cucumbers, strict cleanliness and hygiene should meticulously be adhered to when handling the produce. Hold cucumbers under running water and scrub gently with a soft vegetable brush. This step is critical to eliminate any unwelcome microorganisms that might interfere with the pickling process.
- Trimming: Lop off about 1/16″ from the blossom end of the cucumber. The blossom end harbors enzymes that could potentially soften the pickles. Leaving the stem end intact, on the other hand, aids the cucumber in staying crisp.
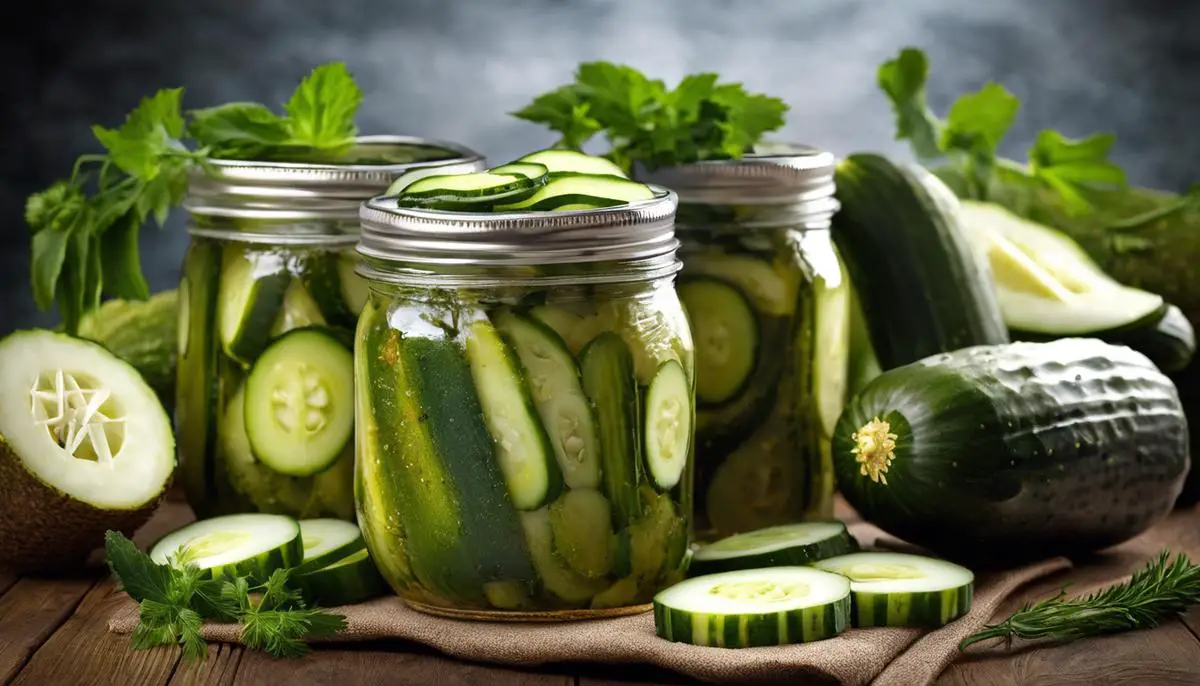
- Slicing: If the cucumbers are small enough, they can be pickled whole. Otherwise, they can be sliced in traditional rounds or long spears depending on personal preference.
- Soaking: Soak the cucumbers in an ice bath for at least two hours, or better still, overnight. This step makes them absorb the brine more effectively and enhances their crispy texture.
- Draining: After soaking, drain the cucumbers and pat them dry, ensuring as much moisture as possible is removed from their surface.
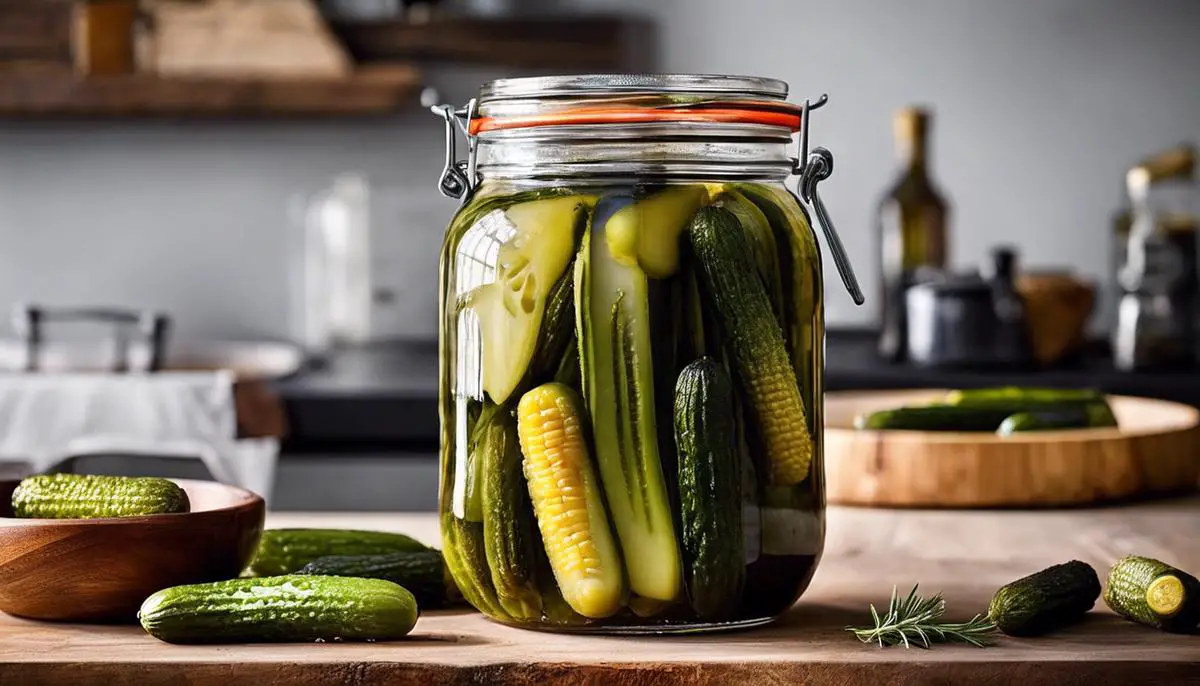
- Brining: Layer the cucumbers in a jar along with the chosen herbs and spices. Pour the hot pickling brine over the cucumbers, filling up to 1/2 inch from the jar top. Seal the jar tightly and proceed with the chosen method of pickling.
And there you have it. By opting for the right kinds of cucumbers and preparing them efficiently, every fan of pickling is well on their way to creating an amazing batch of homemade pickles. Happy pickling!
Creating the Pickling Brine
Crafting a Savory and Potent Pickle Brine for Your Cucumbers
The pivotally crucial counterpart of making crispy and sensational pickles, lies in creating and using an effective and flavorsome pickling brine. This magical liquid concoction serves as the secret source for the iconic tang and bite craved by pickle aficionados.
Subscribe to our newsletter!
To create this pickling powerhouse, one needs merely four key ingredients: vinegar, water, salt, and sugar. The magic here lies in the sweet harmony of getting the proportions just right. A common ratio is 2 parts vinegar to 1 part water, which can, nevertheless, be adjusted to your specific palate preferences. If your inclinations tilt more towards a sharper bite, bolster the vinegar ratio while those preferring a little leniency can veer towards a balanced equality.
Reliable vinegar choices are apple cider vinegar or distilled white vinegar. They emanate a splendid tang without overpowering the natural freshness of the cucumber.
Now, on to salt, a critical player in the brine saga. Use pure, non-iodized pickling salt or kosher salt which dissolves smoothly leaving no residual bitterness. Salt’s role in the brine is twofold; it augments the flavors while acting as a preservation agent.
Spiked with a touch of sugar, our brine fulfills the flavor spectrum. The sweet touch acts as a perfect counterbalance to the tartness of vinegar, creating an appealing duality that tantalizes the taste buds. Avoid over-sweetening though, as we’re making delightful pickles, not syrupy confections!
An often overlooked, but vastly crucial step in creating that perfect brine is heating. Take your concocted brine to the stove and warm it until your salt and sugar particles are wholly dissolved, ensuring a cohesive brine that will permeate every pore of your cucumber slices with its vibrant flavor concoctions.
Now that your brine is ready, take your prepared cucumbers, ensconced in the pickling jar, waiting to be bathed in this aromatic brine. Pour in your still-warm vinegar blend, seeking to submerge your cucumber slices entirely. Make sure they are covered and coated in brine, to ensure even flavor distribution and impeccable preservation!
Finally, remember, patience is key. Resist the temptation to sample your creation immediately. Instead, let your jarful of soon-to-be pickles steep in the blend, allowing the flavors to meld and intensify over time. Don’t skimp on this resting period – often the best things in life require a bit of waiting.
And there it is, your comprehensive guide on crafting a uniquely delicious and highly efficient pickling brine. Gift your cucumbers the transformation they deserve and delight yourself with a set of splendidly homemade pickles, full of flavor and character! Happy pickling!
The Pickling Process and Storage
Embarking from the stage of brining the cucumber, it’s essential to note the importance of using a reliable canning method to seal in the preserving process. This will ensure all our earlier meticulous endeavors prove fruitful. Let’s dive into that, shall we?
Two popular methods of canning are water bath canning and pressure canning, both of which destroy microorganisms that cause spoilage. Water bath canning takes a relatively shorter duration and is suitable for fruit and high-acid vegetable pickles. Pressure canning, on the other hand, is more fitting for low-acid vegetables, meats, and poultry, taking a longer time as it achieves much higher temperatures.
As for the cucumber pickles, use the water bath canning method. Place the brine-filled jars on the rack of a boiling water canner, containing hot, not boiling, water that’s deep enough to cover the jars by at least an inch. Once the water starts boiling, the process begins and lasts depending on your recipe’s recommended duration, usually between 5 and 15 minutes.
The next part of the puzzle is to store these pickled cucumbers properly, a step equally as important. Upon completion of the canning process, remove the jars from the water bath and let them cool off naturally. Any forced cooling might lead to broken jars, a pickle-lover’s nightmare we’d like to avoid.
After they’ve achieved room temperature, inspect the tops for a proper seal. A well-sealed lid will be concave and emit a high-pitched sound when lightly tapped. Any jars not properly sealed can be refrigerated and consumed first, while the properly sealed jars are ready for storage.
Jars of pickled cucumbers should be stored in a cool, dry, dark place. The ideal storage temperature ranges from 50 to 70 degrees Fahrenheit, though most importantly, this temperature should be constant. Fluctuations may lead to spoilage or compromise the quality of your pickles.
In conclusion, the step-by-step journey of pickling cucumbers is bustling with activity, passion, and mastery. However, the result, that crunchy, sour bite enjoyed at every occasion, on burgers, or right out of the jar, makes every single detail worthwhile. Get your jars, your pickling gear, and let’s make some delicious homemade pickles today!
Having thoroughly traversed the captivating journey of pickling cucumbers, we now find ourselves armed with the knowledge and skills necessary for this gastronomic art. From selecting the perfect cucumber, preparing an exquisite brine mixture, embedding them into the vinegary concoction, and finally storing them in a way that ensures a prolonged shelf life – we’ve explored every nook and cranny of this process. As you embark on your own pickle-making endeavors, remember the foundations laid down in these pages. Let them be your guiding light as you wrestle cucumbers into jars, and anticipate that delightful taste of victory with every crunchy bite you take in the future. Here’s to your flavorful journey into the transformative world of pickling cucumbers, and may each step be as satisfying as the pickle that comes out at the other end.