
Embarking on the rewarding journey of growing your own kale begins with selecting the right seeds—a crucial step that sets the groundwork for a bountiful harvest. In the pursuit of vibrant and nutritious greens, understanding the diversity of kale varieties is fundamental. Opting for premium, disease-resistant seeds that are well-suited to your local climate can lead to a thriving garden. This guide not only sheds light on how to navigate the choices of kale seeds but also offers insight into the meticulous preparation of the perfect seed starting mix. Achieving the right soil texture and nutrient balance is paramount for nurturing strong and healthy kale seedlings right from the start.
Choosing Kale Seeds
Unveil the Secrets to Picking the Best Kale Seeds for Your Lush Garden
When it comes to dialed-in gardening, selecting the right seeds is like choosing the secret ingredient for your grandma’s renowned apple pie – it makes all the difference. Let’s leaf through the tips for picking the best kale seeds, ensuring your garden is the envy of fellow green-thumbed hobbyists.
Reader Poll: What online courses would interest you?
Understanding the Varieties:
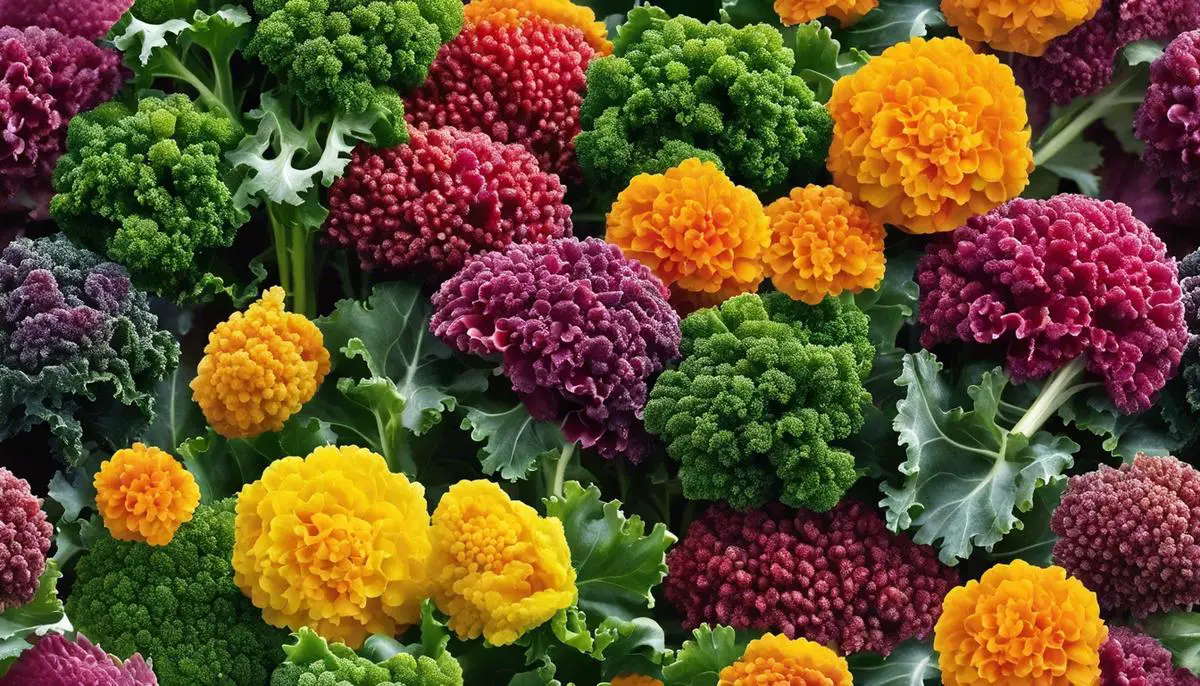
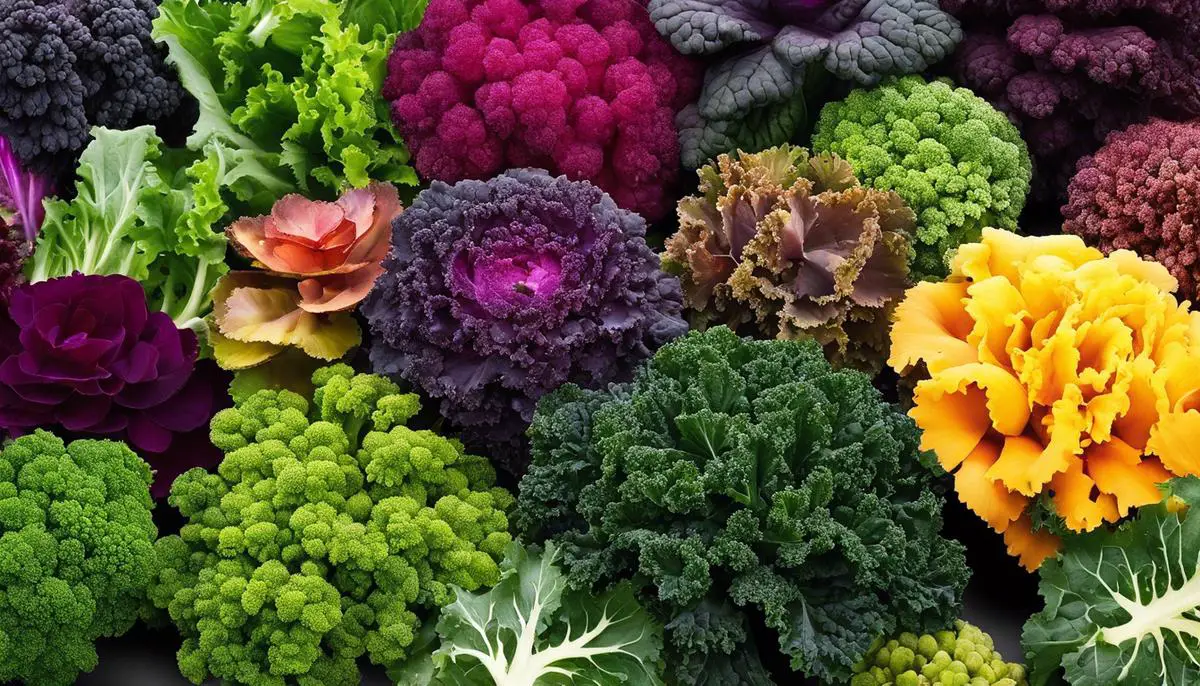
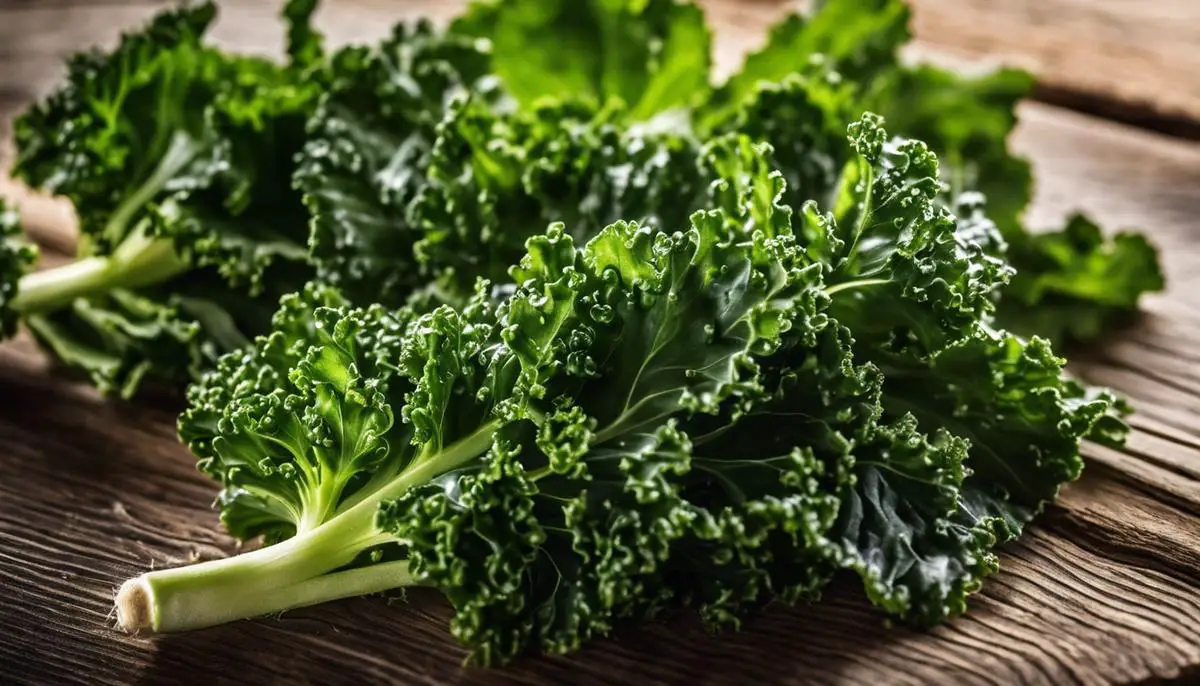
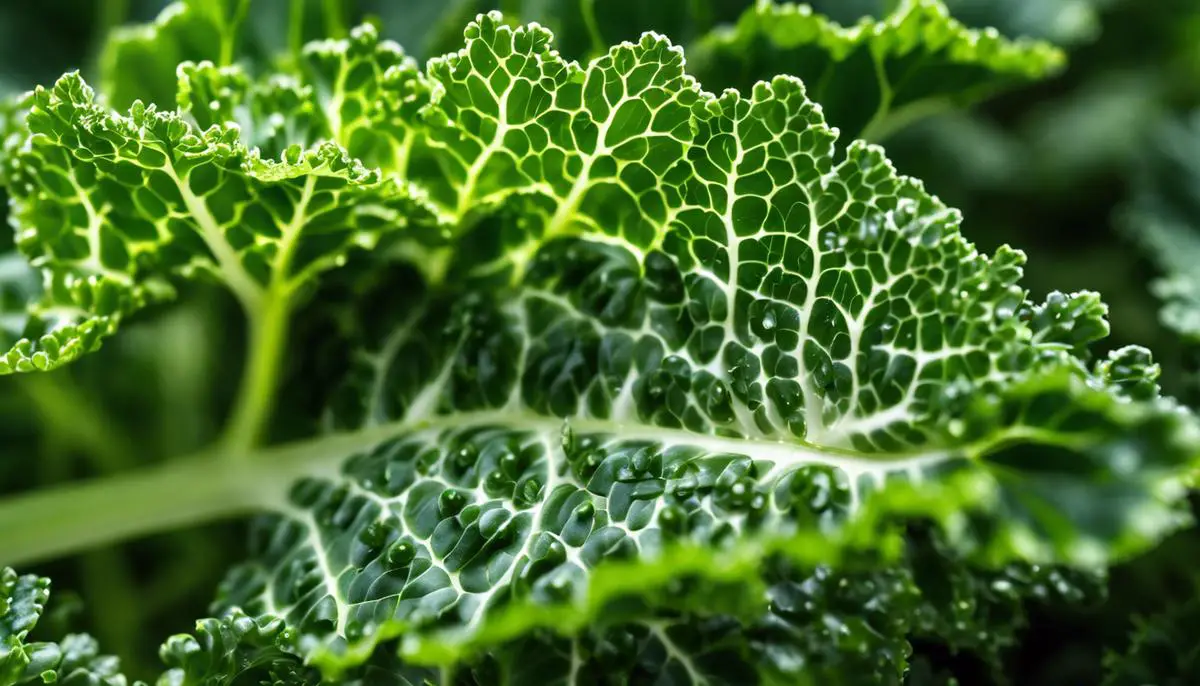
Confused by the multitude of kale varieties? It’s like walking into an ice cream shop with endless flavors! Here’s the scoop: ‘Curly Kale’ is your go-to for that classic ruffled look and hearty taste, perfect for kale chips. Want a colorful twist? ‘Red Russian’ or ‘Scarlet’ varieties flaunt reddish-purple hues, making a vibrant addition to any plate or plot. For a frilly foliage feast, ‘Lacinato’ or ‘Dinosaur Kale’ is a must with its earthy, nuttier flavor and unique texture.
Climate Know-How:
Subscribe to our newsletter!
It’s a garden, not a Goldilocks scenario, but climate plays a big part in selecting suitable seeds. Kale is cool with the cold, making it a robust choice for early spring or fall planting. In warmer regions, look for heat-tolerant varieties like ‘Premier’, which can withstand a bit of a temperature rise without turning bitter faster than neglected coffee.
The Importance of Good Genes:
Just like crafting your family tree, you want seeds with great lineage. Always opt for organic, non-GMO seeds from reputable sources, assuring your plants are primed for robust growth and resistance to pests and diseases. These seeds are more like the trusty old tools in the shed – reliable and geared for success.
Germination Rates Matter:
Don’t let poor germination rates soil your gardening dreams. Check the packet for the percentage, aiming for rates that tip the scales at 75% or higher. This is your assurance that you’re sowing seeds with vitality levels more consistent than your morning alarm.
Open-Pollinated vs. Hybrid:
In the kale community, open-pollinated seeds are akin to treasured family heirlooms – you can save the seeds from your harvest and they’ll produce true to type next season. Hybrid seeds, on the other hand, are like a secret recipe – they bring unique traits and vigor to the garden table but won’t replicate if you save and replant them. Both have merits, but for sustainability, open-pollinated steals the show.
The Art of Reading Seed Packets:
Your seed packet is the treasure map to a successful crop. It’s stamped with invaluable intel like the days to maturity, helping you time your harvests with the precision of a Swiss watch. Additionally, look for resistance labels – these are like the shield and armor protecting your kale from common adversaries like pests and diseases.
Let nature’s course guide you and before you know it, your garden will be a kaleidoscope of thriving, leafy goodness. Remember, your choice of kale seeds is the first step to a bountiful and beautiful harvest, so choose wisely and watch your green world grow! No summary needed; armed with these tips, you’ll be the savvy seed selector ready to cultivate a kale wonderland.
Preparing Seed Starting Mix
Jumping from selecting the right kale seeds to giving them a proper head start, preparation of the perfect seed starting mix is mission-critical for a bountiful kale harvest. It’s not just about tossing seeds into some dirt and hoping for the best; it’s about creating a nurturing environment that caters to the needs of these hearty greens.
First things first, let’s talk about the foundation: the soil mixture. Kale thrives in a loose, well-drained, yet moisture-retentive mix. To achieve this balance, a standard mix of one part peat moss or coco coir with one part perlite or vermiculite will work wonders. The peat moss or coco coir retains moisture without becoming waterlogged, while the perlite or vermiculite ensures adequate drainage and aeration.
Now, nutrition is next on the agenda. New growers might think kale, being a tough veggie, can handle less-than-ideal conditions. But why settle for survival when you can aim for thriving? Sprinkling in some compost or worm castings to the mix will give the seedlings that extra boost, making sure they have enough nutrients to grow strong roots and vibrant leaves. Aim for a ratio of about one-fourth compost or worm castings to your base mix.
Don’t forget the pH balance, crucial for nutrient uptake. Kale prefers slightly acidic to neutral soil, with an ideal range of 6.0 to 7.5. It’s always wise to test the pH of your starting mix and make adjustments accordingly. Incorporating a bit of finely ground agricultural lime will help sweeten overly acidic mixtures.
Before sowing the seeds, the mix should be moistened. Not sopping wet, but like a wrung-out sponge. This will prevent the seeds from being washed away and ensure they have enough moisture to germinate effectively. After wetting the mix, fill your seed trays or pots to just below the rim and press down lightly to make an even surface.
When it comes time to plant, a planting depth of about 1/4 to 1/2 inch is just right for kale. Gently press the seeds into the mix and cover lightly with more of the same mixture. Consistency is key during germination, so keep the soil evenly moist and in a warm spot to encourage sprouting. A plastic cover or dome can help retain moisture and heat, but remember to remove it as soon as those baby greens poke through.
Lastlt, good light is non-negotiable once the seeds have sprouted. If natural sunlight is lacking, a grow light can stand in to make sure those seedlings don’t get leggy and weak.
Taking the time to craft the perfect seed starting mix might seem like a minor detail, but in the world of gardening, it’s these little things that set up for notable success. Now, with the ideal mix in hand, kale growth is just a matter of patience and a little tender, loving care.
Sowing and Thinning Kale Seeds
Moving diligently from preparation to the precise act of planting, it’s time to focus on the nitty-gritty of sowing kale seeds that lead to verdant growth.
A key technique is space management; avoid crowding the seeds too close together. Typically, spacing out seeds about half an inch apart allows each seedling enough room to establish itself without competition.
Once the seeds are nestled into the moist starting mix at the appropriate depth, usually a quarter to a half-inch deep, the practice of temperature control comes to the forefront. Kale seeds thrive with a bit of warmth. Aim to maintain soil temperature around 65-75°F, which will encourage optimal germination. If temperatures are cooler than this range, consider using a heat mat specifically designed for seed starting.
Monitoring moisture levels post planting becomes critical. It’s essential to water the seeds gently to avoid disturbing them. A spray bottle can mist the surface without causing erosion or exposing the seeds. The soil should never be soggy, but consistently moist to the touch is the goal. Overwatering is just as detrimental as under-watering, as it can lead to fungal issues and poor seedling health.
Once the seeds have sprouted and tiny greens have appeared, thinning becomes necessary. This process involves removing weaker seedlings to allow the stronger ones more space to grow. It may seem counterintuitive to remove plants, but it ensures the strongest possible growth for remaining seedlings.
After the emergence of true leaves—not the cotyledon or seed leaves—it’s time to start the hardening off process. This means gradually exposing the seedlings to outdoor conditions if they have been started indoors. Start with an hour per day and slowly increase the time over a week or two. This process strengthens the plant cell structure to withstand the elements.
Finally, the act of transplanting is a critical stage in the kale journey. Transplant seedlings into the garden after the risk of frost has passed, placing them 12 to 18 inches apart to provide ample room for growth. Plant them a bit deeper than they were in the seed starting container, which encourages stability and root development. Water immediately after transplanting to help settle the soil around the roots and eliminate air pockets.
In conclusion, attentive care during the germination and early growth phases sets the stage for robust, leafy kale plants. Provide them with love and proper conditions, and they will reward you with a bountiful harvest. Remember, gardening is an adventure that flourishes with dedication and precision. Enjoy the process, and watch as your kale patches become a testament to your green thumb prowess.
Mastering the art of growing kale from seed is a gratifying process that brings the garden to life with lush, leafy greens. As we have explored the careful steps of sowing seeds at just the right depth and the art of thinning the seedlings to avoid overcrowding, we ensure a robust foundation for plant development. These practices are not merely routines; they are acts of dedication that culminate in the ultimate joy of harvesting your homegrown kale. May your hands be enriched with soil and your table adorned with the freshest, most flavorful kale leaves, thanks to the love and care invested in every stage of their growth.