
Kale, a nutrient-rich leafy green, has soared in popularity and become a staple in health-conscious kitchens around the globe. As more individuals take an interest in growing their own food, understanding the intricacies of cultivating kale becomes essential. This journey begins with selecting the appropriate kale varieties, each distinct in their flavor, texture, and growing needs. Whether opting for the ruffled leaves of the curly kale, the textured skin of dinosaur kale, or the sweet undertones of red Russian kale, each type offers unique benefits and challenges. This guide aims to equip you with the knowledge to navigate these choices, prepare your soil with precision, and embark on the rewarding path of planting and nurturing your own kale garden. Embrace the opportunity to transform your backyard into a haven of healthful greens, as we delve into the essentials of kale cultivation.
Selecting Kale Varieties
Cultivating the Perfect Kale Variety for Your Garden Oasis
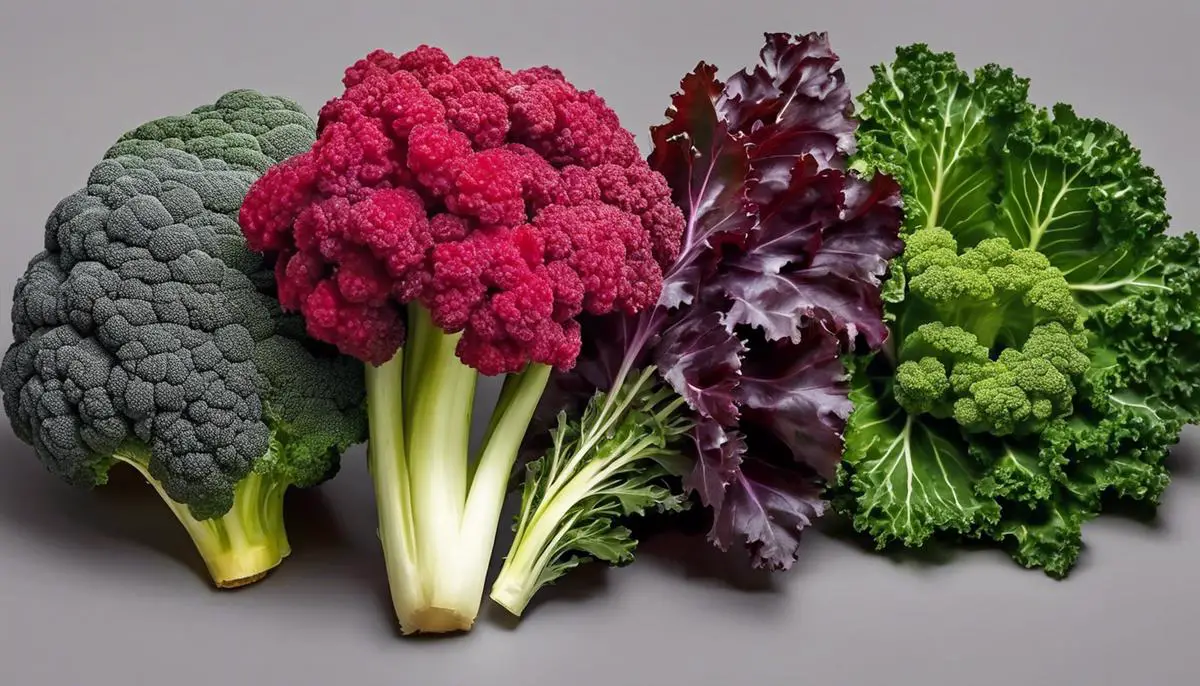
If you’ve found yourself bit by the gardening bug and are looking to diversify your verdant sanctuary, look no further than the wonderfully nutritious world of kale. With an array of types each boasting their own unique texture and taste, kale has become a staple for garden enthusiasts across the states. Picking the right kale variety for your garden space and climate can be a game-changer in how your green thumb projects pan out through the seasons.
Reader Poll: What online courses would interest you?
Let’s dive right into discovering the kale variety that will flourish in your garden.
First up, let’s talk space. If you’re working with a confined area or even a container garden, ‘Dwarf Blue Curled’ kale is a compact option that won’t demand much room. This variety, with its tight curls and bluish-green hue, is not only aesthetically delightful but also hardy in colder temperatures.
For those blessed with more expansive plots, the robust ‘Lacinato’ or ‘Dinosaur’ kale is your go-to. Its tall, dark, narrow leaves can handle both heat and frost, making it a surefire win for most gardeners. Plus, the dinosaur-like texture is a tactile dream in the garden.
Subscribe to our newsletter!
Are you living in the cooler northern spots? Embrace the ‘Winterbor’ kale. It’s a champion in withstanding frosty conditions and can provide lush harvests even as the mercury drops.
In contrast, for gardeners gracing warmer southern climates, the vibrant ‘Red Russian’ kale is ideal. With its reddish-purple veins and oak-like leaves, this kale likes to start in the cooler months but will push through a mild southern winter with grace.
For those who lean eco-friendly and prefer a perennial plant, ‘Sea Kale’ performs beautifully. It handles coastal climates like a charm, thriving in sandy soils and salty air, and you’ll get perennial greens cropping up year after year without a replant.
Now, when it comes to optimizing your yields, remember that kale loves rich, well-draining soil with a pH between 6.5 and 6.8. Plant your kale in full sun, but if you’re under a scorching sunbelt, partial shade is acceptable to prevent wilting.
Remember, the secret to selecting the best kale variety hinges on understanding the climate you’re cultivating in. Assess your winter lows, summer highs, and the space available to you. Achieving that garden triumph with kale’s versatility is within reach—and the harvest is not only satisfying but incredibly delectable too.
Whether you’re sautéing, blending, or munching on raw, kale fresh from the garden is a delight, and there’s a variety out there that’s just perfect for your personal patch of the world. Get your kale seeds in the ground, nurture them with love, and let them be the crowning glory of your green space this season!
Preparing the Soil
Transforming Your Garden Soil into a Nutrient-Rich Kale Haven
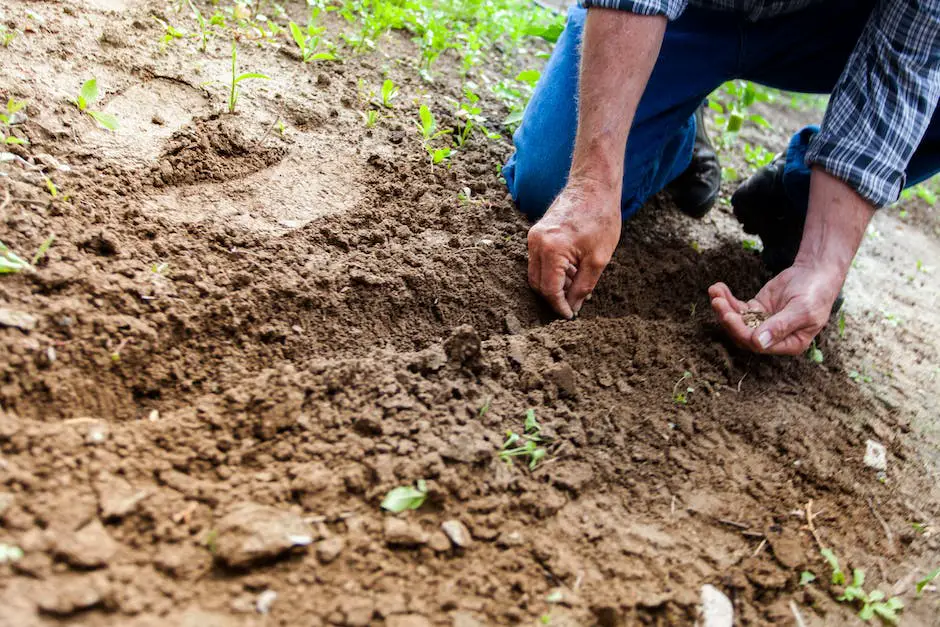
Kale enthusiasts know that this hearty green thrives in well-prepared soil. Cultivating the perfect environment for kale isn’t just about planting seeds; it’s about fostering a foundation where those seeds can flourish. Here’s the dirt on how to prime your garden for an abundant kale harvest.
Testing the Soil: A Healthy Start
Before you start adding anything to your soil, it’s crucial to know what you’re working with. Test your soil to determine its pH and nutrient levels. Kale prefers a slightly acidic to neutral pH, around 6.0-7.0. If your soil is too acidic, consider adding garden lime to raise the pH. If it’s too alkaline, elemental sulfur or organic mulches can help lower it.
Rich in Organic Matter: Feeding the Soil
Kale plants are heavy feeders and need nutrient-rich soil. Boosting your soil’s organic matter is the way to go. Compost, well-rotted manure, or leaf mold not only enhance nutrient content but also improve soil structure, which is vital for root development and water retention. Aim to incorporate about 2 to 4 inches of organic matter into your garden bed.
A Well-Draining Foundation: Avoiding Soggy Roots
Kale despises soggy feet. To ensure your soil is well-draining, amend it with coarse sand or peat moss if it’s too clayey. This will enhance the drainage capacity, ensuring that water doesn’t stick around long enough to rot those precious kale roots.
Fertilizing Strategy: The Kale Buffet
After amending, it’s time to feed your garden with a balanced fertilizer. Your kale will thank you for a mix that includes nitrogen, phosphorus, and potassium, plus microelements like calcium and magnesium. Follow the instructions on your chosen fertilizer and consider using a slow-release formula to provide steady nutrients as the kale grows.
Tillage and Bed Preparation: A Fine Crumbly Texture
Once nutrition is addressed, work the soil to a fine tilth. This means breaking up large clumps and removing rocks or debris that may impede root growth. A loose, crumbly soil texture allows kale roots to expand easily and access water and nutrients. A depth of 8 to 12 inches tilled is ideal for vigorous kale plants.
Mulching Mastery: Retain Moisture and Suppress Weeds
After planting your kale, mulch can be a final protective measure. Organic mulch, such as straw or shredded leaves, will help retain soil moisture, regulate temperature, and suppress weeds. A layer up to 3 inches thick should do the trick, just be sure not to bury the emerging kale leaves.
By following these groundwork guidelines, you’re setting the stage for a successful kale season. The right soil prep can mean the difference between lackluster leaves and a bounty of lush, healthy kale—ready to be picked, prepared, and proudly served at the table.
Planting and Maintenance
Planting Kale: A Step-by-Step Guide for Thriving Greens
After perfecting the art of selecting the best kale varieties and prepping the garden soil, it’s time to plant those leafy greens. The magic begins with timing: for a spring harvest, plant kale about four to six weeks before the last frost date. Fall crops excel when seeds are sown in late summer, typically seven to nine weeks before the first expected frost.
Position the seeds or young plants 12 to 15 inches apart, allowing generous room for growth. For rows, maintain about 18 to 24 inches between them. This spacing avoids overcrowding and encourages ample air circulation, which kale adores and which helps deter pests and diseases.
Water Wisdom for Wondrous Growth
The mantra for kale watering is consistent but not overbearing. Provide 1 to 1.5 inches of water per week, ensuring a deep soak that reaches the roots. If Mother Nature isn’t pitching in, grab that watering can or hose. The goal is keeping the soil moist – not waterlogged – to promote healthy growth and prevent bolt-inducing stress in the plant.
Pest Control: Natural and Effective
As kale grows, pests like aphids and cabbage worms may drop by for a munch. Combat these critters with a non-toxic approach: introduce natural predators such as ladybugs, or apply food-safe diatomaceous earth around your plants. Inspect leaves regularly, plucking off unwelcome guests by hand, and consider a floating row cover for added defense without chemicals.
Disease Deterrence: An Ounce of Prevention
Always opt for disease-resistant strains, but also promote an environment that’s inhospitable to disease. Rotate your kale crop yearly, avoid wetting foliage when watering, and clean up plant debris promptly. Such simple housekeeping can prevent fungi and viruses from calling your garden home.
Harvesting: Timing is Everything
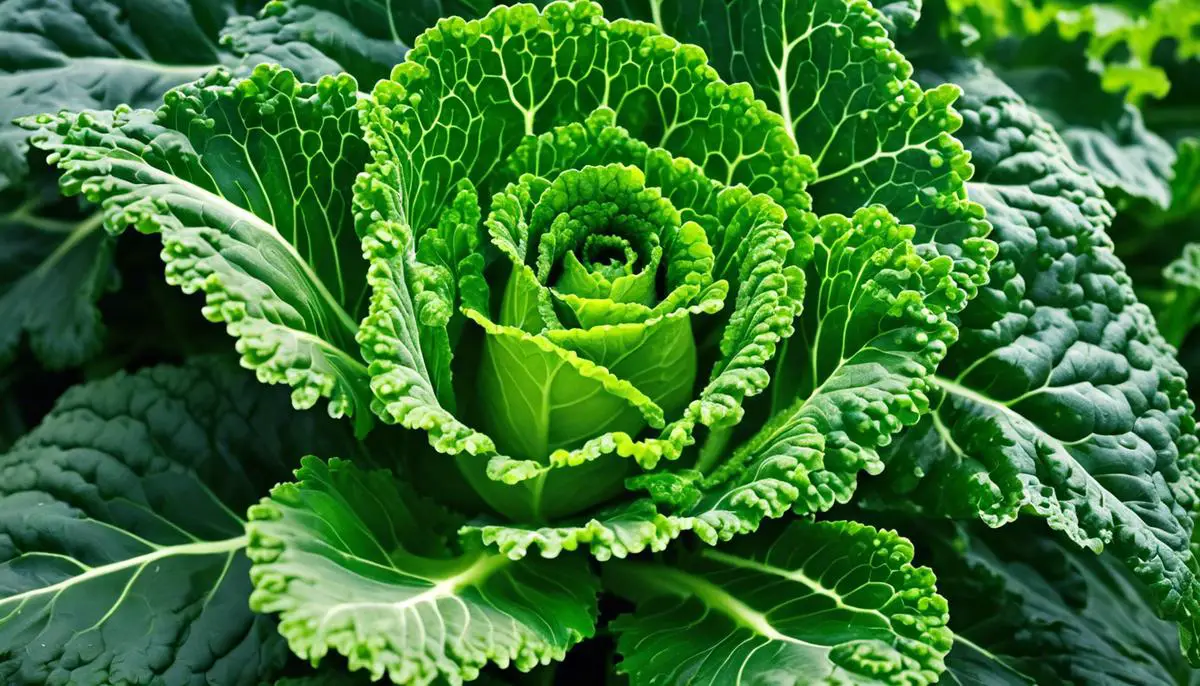
When the leaves of your kale plants reach the size of your hand, they’re ready for harvest. Snip or gently pull the outer leaves, allowing the center to continue producing. A continuous harvest encourages new growth, extending the bounty of your kale crop. Steer clear of removing more than a third of the plant at a time to sustain its vitality.
Summing it up, planting and nurturing kale is a rewarding pursuit that leads to a cache of nutritious leaves. From soil preparation to smart spacing, watering, pest management, and timely harvesting, every step is part of the adventure. Embrace each one, and your kale garden will flourish, offering up the freshest of greens from the backyard to your plate.
The art of growing kale encompasses far more than simply planting seeds; it’s about fostering a symbiotic relationship with the earth and reaping the rewards of dedication and care. From selecting the right variety to suit your garden’s microclimate, to preparing the soil to foster robust growth, and mastering the dance of maintenance, each step is crucial in ensuring a bountiful kale harvest. Your efforts in the garden are more than a mere task—they’re a contribution to the sustainability and nourishment of your household. May your hands be soiled and your harvests plentiful, as you apply these insights and watch your kale plants flourish, offering a verdant bounty and the gratification that comes with growing your own food.