Gardening is not only a peaceful and productive hobby, but it is also a way to ensure you have fresh and nutritious vegetables within reach. Of all the greens you could grow, kale stands out as a resilient and nutrient-packed choice that flourishes even in the limited confines of a container garden. In this exploration into container kale gardening, you will discover how simple it is to start your own leafy green oasis. We’ll begin by diving into the essentials of selecting the right containers and the perfect space that will cater to the unique needs of kale. With an emphasis on container size, proper drainage, and exposure to adequate sunlight, you’re already on the path to nurturing thriving kale plants right outside your door or on your balcony.
Choosing Containers and Space
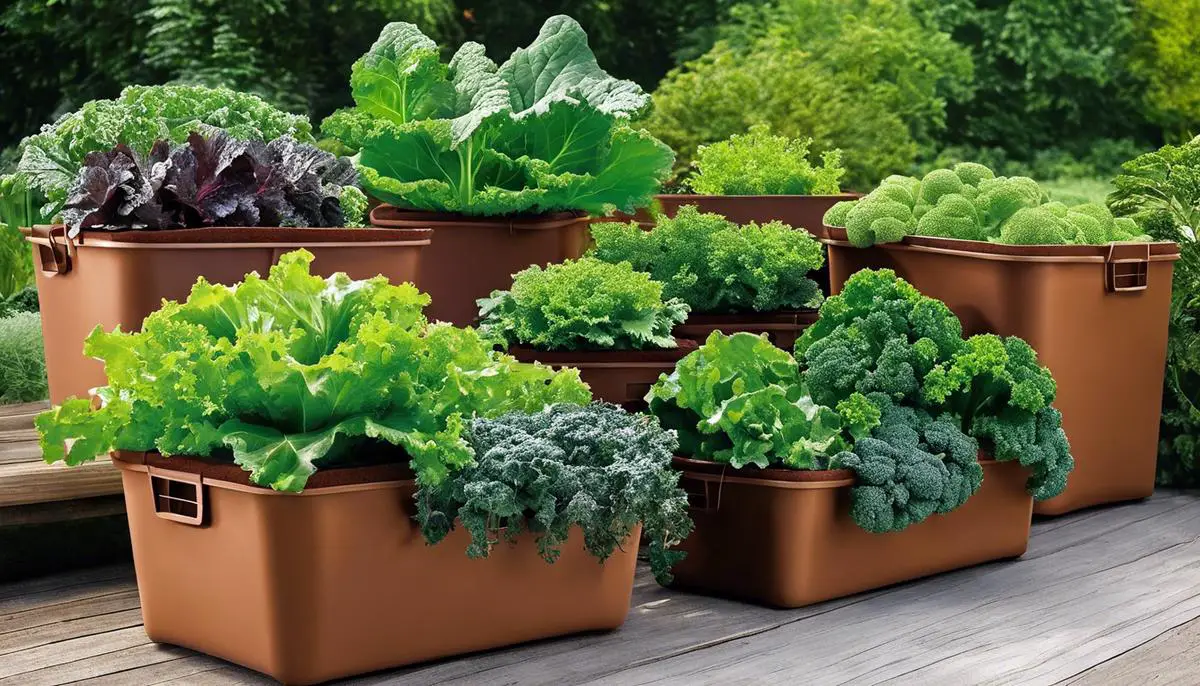
Green Thumbs Up: The Ideal Container for Growing Luscious Kale
Reader Poll: What online courses would interest you?
Who knew that a simple leafy green could be such a star in the garden? Kale, the nutrient-packed powerhouse, has become a darling of gardeners and health enthusiasts alike. Whether you’re looking to jazz up your salads or just want to bask in the glory of growing your own superfoods, you’ve made a great choice with kale. But before you start envisioning those vibrant green leaves sprouting on your patio or deck, let’s get down to the root of the matter: the container.
When it comes to container gardening, kale isn’t too picky, but it does have its preferences. The perfect home for your nascent greens blends ample space with considerations for material and drainage – essentials for kale’s happiest growth.
Size Matters: Go Deep
Subscribe to our newsletter!
Kale plants love to stretch their roots deep into the soil, which is why depth is a crucial factor when choosing your container. Aim for a pot that’s at least 12 inches deep. This gives the plant room to establish a strong root system, which in turn supports healthy leaf production. Remember, shallow containers will stunt growth and leave you with lackluster leaves. If you’re dreaming of a kale forest, consider going even deeper, or opting for a garden bed that allows for expansive growth.
Material Magic: Choose Wisely
Containers can be found in all sorts of materials, from terracotta and ceramic to plastic and fabric. Each comes with its benefits. Terracotta and ceramic pots are hefty and offer a classic aesthetic, while plastic containers are lightweight and retain moisture well. If you’re into sustainable gardening, fabric pots are a breathable option that encourages air pruning and can lead to healthier roots.
Drainage Delights: Ensure a Good Flow
Kale likes its soil like a sponge: moist but not waterlogged. Excellent drainage in your container is crucial to prevent soggy soil conditions that can lead to root rot. Ensure your chosen vessel has plenty of drainage holes at the bottom. If it doesn’t, get handy and drill some yourself, or layer the bottom with pebbles or chunks of Styrofoam to keep roots away from excess water.
Space to Grow: Room for Companions
If you fancy growing a kale companion, such a pairing is not only possible but advisable. Select a wider container, about 18 inches in diameter, to give both plants room to flourish. Herbs or onions can be good companions for kale, helping to deter pests and maximize your container space.
Getting Set for Success
With the right container in hand, you’re ready to embark on your kale-growing journey. Fill your pot with a high-quality organic potting mix, nestle those kale seeds or seedlings into their new abode, and place the container in a sunny spot that gets around 6 hours of light daily. Keep the soil consistently moist and watch as those sprouts transform into the leafy greens of your dreams.
And now, off you go—your perfect kale container is awaiting its verdant guest. Happy planting!
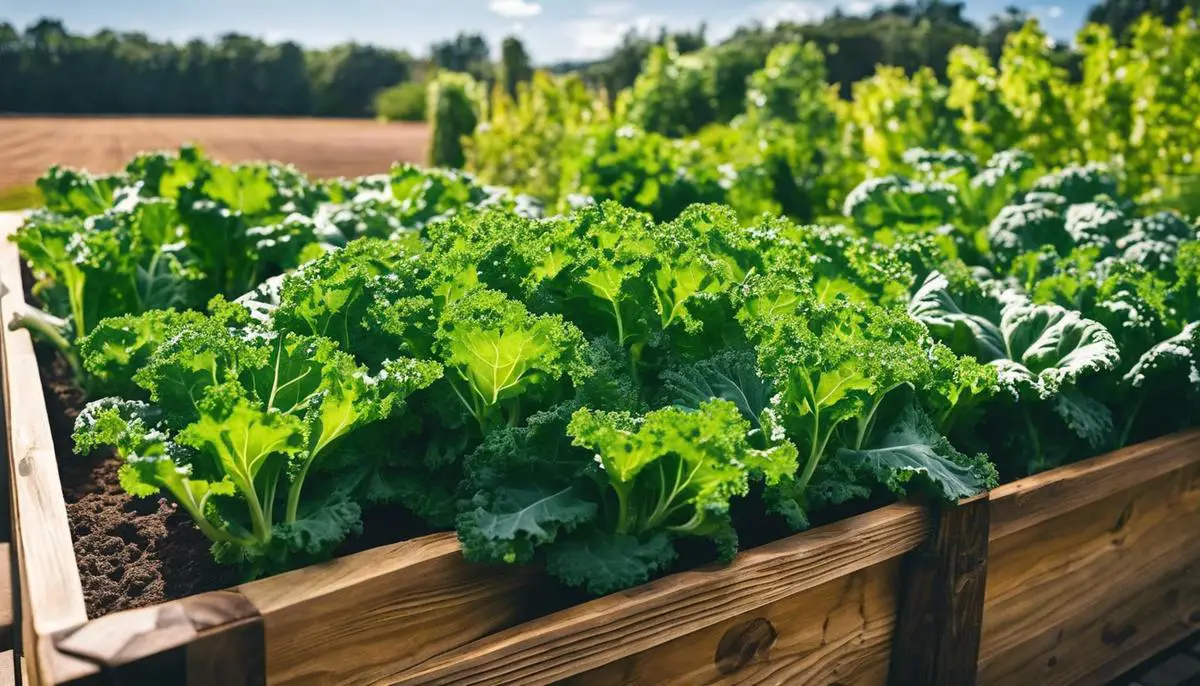
Soil Preparation and Fertilization
Ah, the joy of sinking your hands into the soil, nurturing it just right, and watching your kale transform from tiny seeds to lush, leafy greens. There’s a particular thrill that comes with coaxing the best out of your soil to produce a bountiful kale harvest. So let’s talk about how to prep and boost that soil to make your kale the envy of veggie gardeners everywhere.
First off, the soil is more than just dirt—it’s a living ecosystem! To turbocharge it for our beloved kale, start by testing the pH. Kale thrives in slightly acidic to neutral soil, ideally with a pH between 6.0 and 7.5. You can grab a soil test kit from your local garden center or have a professional soil test done. Once you’ve got your pH figured out, adjust as needed using lime to raise the pH or sulfur to lower it.
Now, let’s enhance soil structure and fertility. Kale plants are hearty eaters, so amending your soil with rich organic matter is like setting a gourmet buffet for them. Compost is the go-to amendment—it improves soil structure, adds essential nutrients, and increases moisture retention. And if you’ve got your own compost bin going, kudos! It’s gold for your plants. Work a good 2-4 inch layer of compost into the top 6-8 inches of your soil before planting.
Kale’s also pretty fond of nitrogen and potassium. Adding well-rotted manure into the mix gives a welcome nitrogen boost, but if the odor or the thought of handling manure is a bit much, opt for a balanced, slow-release organic fertilizer—one that pairs nutrients with natural materials, which also improves soil health.
Don’t forget the aeration! Fluffy soil allows roots to dive deep and spread out. It also encourages beneficial earthworm activity. So grab a garden fork and gently loosen the soil—no need to go overboard and risk disturbing the soil ecosystem, just enough to promote good air and water flow.
Mulching is the secret weapon for maintaining soil richness. A nice layer of organic mulch not only conserves moisture but also breaks down over time to contribute to soil fertility. Straw, shredded leaves, or wood chips can all make for great mulch. Lay a 2-inch blanket around your kale, keeping it a few inches away from the plant stems to discourage rot.
Lastly, mind the watering. Kale prefers consistently moist soil, so water when the top inch of soil feels dry to the touch. Pair this with a well-prepared soil, and you’ll be on track for a prolific kale crop.
Remember, soil prep isn’t a one-off task—it’s an ongoing love affair with your garden. Each year, take the time to assess and amend before planting. This dedication pays off in heaps of emerald kale leaves, perfect for salads, stir-fries, and chips. Now, go forth and grow that ‘superfood’ with gusto!
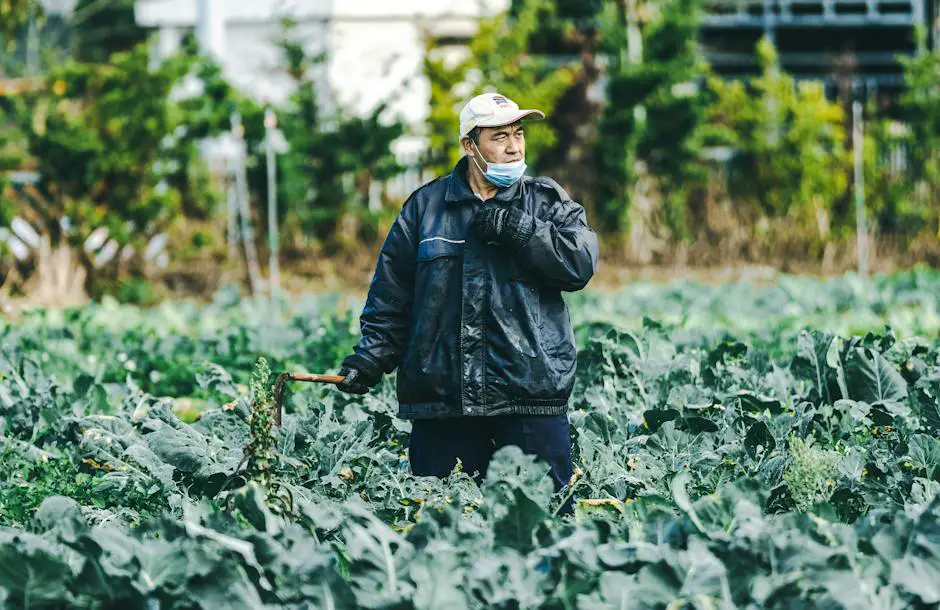
Planting, Watering, and Maintenance
Best Practices for Planting Kale Seeds or Seedlings
When the moment arrives to plant those kale seeds or tender seedlings, knowing the appropriate timing is crucial for successful growth. Aim to plant kale seeds about six weeks before the last expected frost date. For seedlings, you’ll want to plant them in the garden after the last frost date when the soil is workable.
Seeding Tips:
Gently sow the seeds about 1/4 to 1/2 inch deep into the soil. Space the seeds approximately 3 inches apart in rows, maintaining a distance of 18 to 24 inches between each row to ensure adequate room for growth. Once the kale seedlings have a couple of true leaves, thin them out to about 8 to 12 inches apart. This spacing allows each kale plant ample space to mature, without the stress of competition for nutrients and sunlight.
Transplanting Seedlings:
If you’re starting with seedlings, make the transition to the great outdoors smooth by hardening them off first. This process involves gradually exposing the young plants to outdoor conditions over several days. When transplanting, dig holes large enough to accommodate the root ball of each seedling, carefully place them in the soil at the same depth they were growing in their containers, and gently firm the soil around their bases.
Watering Wisdom:
Kale, like most veggies, loves moisture but detests soggy conditions. The key to keeping kale happy is consistent watering. Aim for about 1 to 1.5 inches of water per week, and if Mother Nature isn’t providing, it’s up to you to pick up the slack. In the heat of the summer, you may need to water more frequently, especially if you’re growing your kale in containers. The trick is to keep the soil moist but never waterlogged. Early morning watering is preferable as it allows the leaves to dry off before the cooler evening sets in, thus reducing the risk of fungal diseases.
Maintenance Musts:
Keep an eye out for any unwelcome garden intruders like aphids and cabbage worms. These pests love kale as much as you do! Picking them off by hand or spraying them with a blast of water can be effective for mild infestations. For prevention, consider using row covers to protect your plants.
As your kale grows, fertilizing it every four to six weeks with a balanced organic fertilizer can encourage strong and robust plants. It’s also worth remembering to continue to enrich the soil with organic matter throughout the growing season.
Finally, as you watch those leafy greens flourish, remember to harvest the outer leaves first once they’re about the size of your hand – and don’t worry, kale will keep on giving as long as you keep on picking. Before you know it, you’ll not only be a kale-growing aficionado, but you’ll be whipping up all sorts of delicious dishes with your lush, home-grown greens. Happy planting and even happier harvesting!
Embarking on the journey of container kale gardening connects you to the beauty of growing your own food and offers the satisfaction of plucking fresh, home-grown leaves right when you need them. Equipped with the foundational knowledge of container selection, soil preparation, and plant care, you’re now ready to bring vitality to your culinary creations with the freshest kale possible. Remember, the success of your garden lies in the tender care and attention you provide. May your containers flourish, your kale leaves prosper, and each meal be enriched by the bounty of your newfound green thumb.