When the summer heat hits your garden, it’s time to harvest fresh berries! If you have a bumper raspberry harvest that you don’t know what to do with, we’ve got just the plan for you! To tell you the truth, raspberries won’t last too long once they’re picked. They’re best enjoyed right after picking. Even if stored in the refrigerator, they’ll barely last 5 to 6 days.
So what do you do with the several dozen raspberries if you can’t eat them all fresh in less than a week? The best way to preserve your garden’s produce is to prepare an old-fashioned, grandma-style raspberry jam and enjoy the inexplicable taste for months! Even if you don’t have raspberries growing in your home, this special raspberry jam recipe is worth making a trip to the farmer’s market to get some fresh berries. Frozen raspberries will work perfectly too!
Reader Poll: What online courses would interest you?
So are you ready for a sweet treat? Follow the instructions below and prepare a jar of mouthwatering raspberry jam recipe for the family. You may also get a little extra to give away to your favorite neighbors!
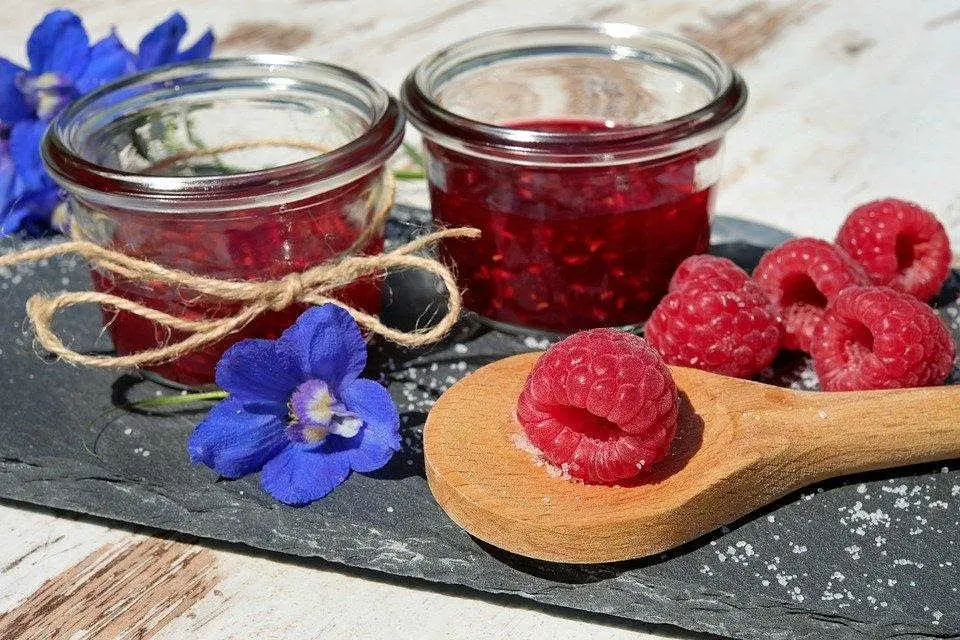
Yields: 4 cups (1 liter)
Ingredients
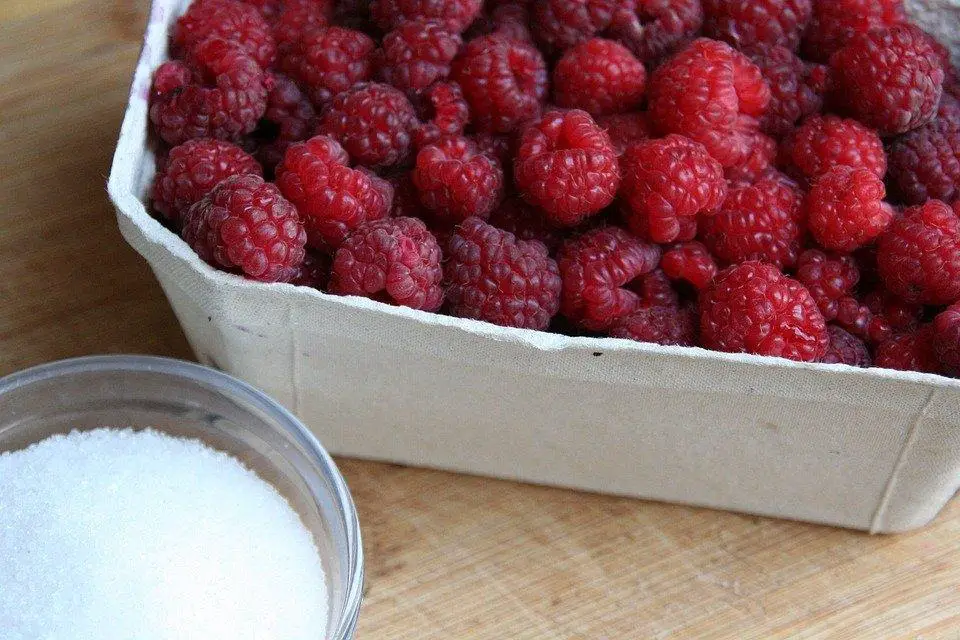
- Raspberries, 4 cups (1 liter)
- 3 cups granulated sugar
- Lemon juice, 1 tbsp (optional)
Method
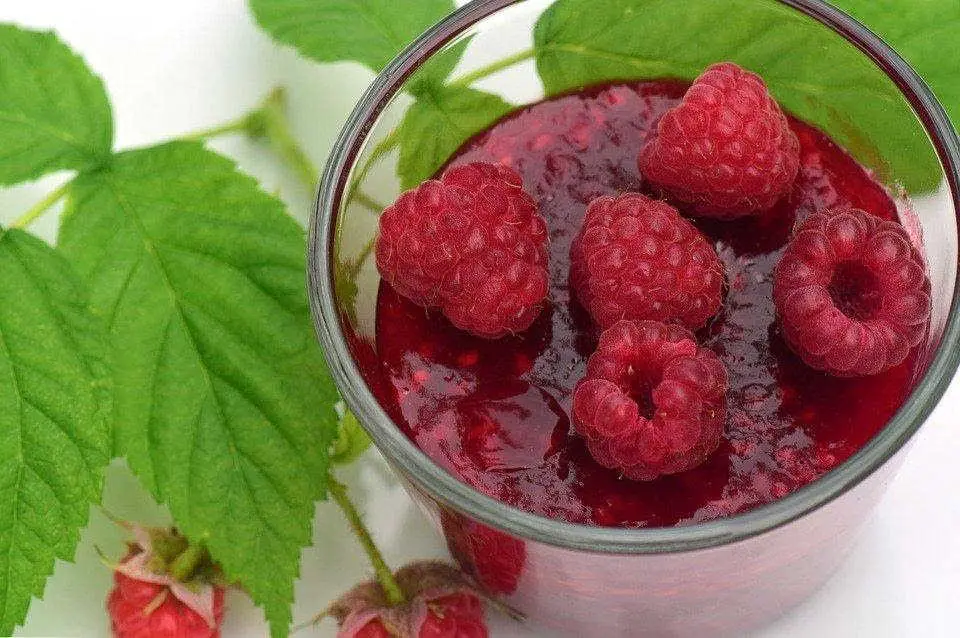
- Gather your ingredients.
- Before you start preparing the jam, sterilize all the jars by boiling them in water for 10 to 15 minutes.
- Place a plate into the freezer. You’ll see why we’ll need it in the later steps.
- Place all the raspberries in a large saucepan and bring to boil. Let it boil for a couple of minutes, mashing the berries with a potato masher as the heat. Stir continuously to avoid sticking.
- Add sugar and lemon juice to the saucepan and continue cooking until the sugar dissolves. Continue stirring with a wooden ladle to avoid any sticking at the bottom of the pan.
- If you see foam on the surface, remove it using a metal spoon.
- Let the mixture boil for about 10 to 12 minutes until it forms a gel. If you have a candy thermometer, the temperature at this point should be around 215°F. Continue stirring throughout this time.
- Take the pan off the heat.
- Now the mixture is ready for the gel test. Take out the chilled plate from the freezer and pour a few drops of your raspberry jam onto the center of the plate.
- Place the plate in the fridge for just a minute. Tilt the plate to see if the jam runs down the plate. If it holds shape like a gel and doesn’t trickle down, the jam is ready.
- If the jam runs down, it is not ready yet. Continue boiling for another two minutes before a second gel test.
- Repeat boiling and testing at two-minute intervals until the jam holds shape like a gel and is ready for storing.
Storing The Right Way
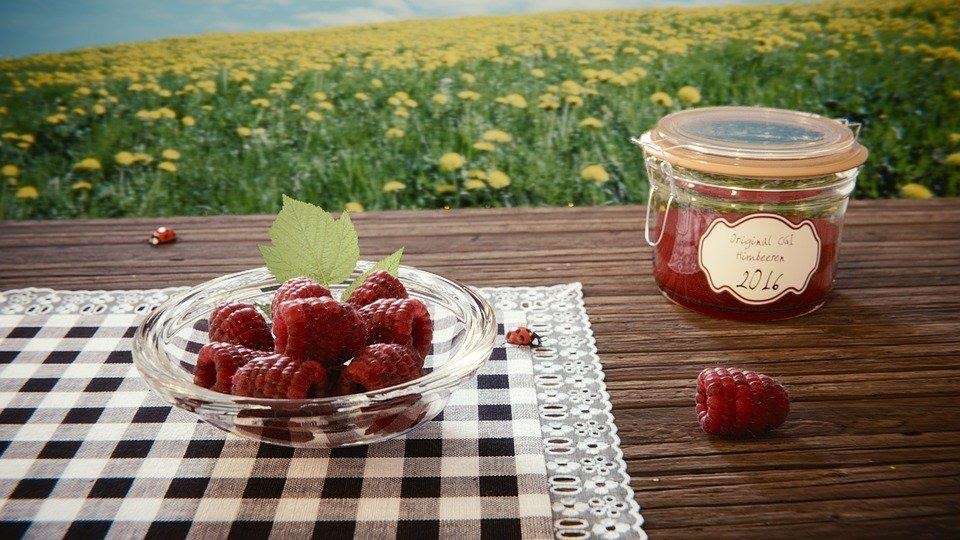
- Pour out the jam into sterilized jars using a ladle. Leave ¼ inch space empty from the rim before covering them with lids.
- Secure the lids and place the jars into a pot with boiling water, standing them on a metal stand. Make sure the water level is below the lid.
- Let the jars stand in boiling water for 5 minutes before taking them out using prongs on a heat stand or towel spread out on your kitchen counter.
- You’ll hear a popping sound, indicating the lids have formed a seal with the jars. If any of the jars haven’t formed a seal, use them first and store the rest of the jars for later.
- Let the jars cool completely before storing them in a cool, dry, and dark place. The stored jam can be used for up to 1 year. Enjoy homemade jam throughout the year before your garden starts brimming with fresh harvests the next season!
Some Helpful Tips
Though the old-fashioned raspberry jam recipe given above is foolproof and will give the classic homemade flavor you’re looking for, here are some additional tips you may want to try out:
Subscribe to our newsletter!
- Choose Ripe Raspberries
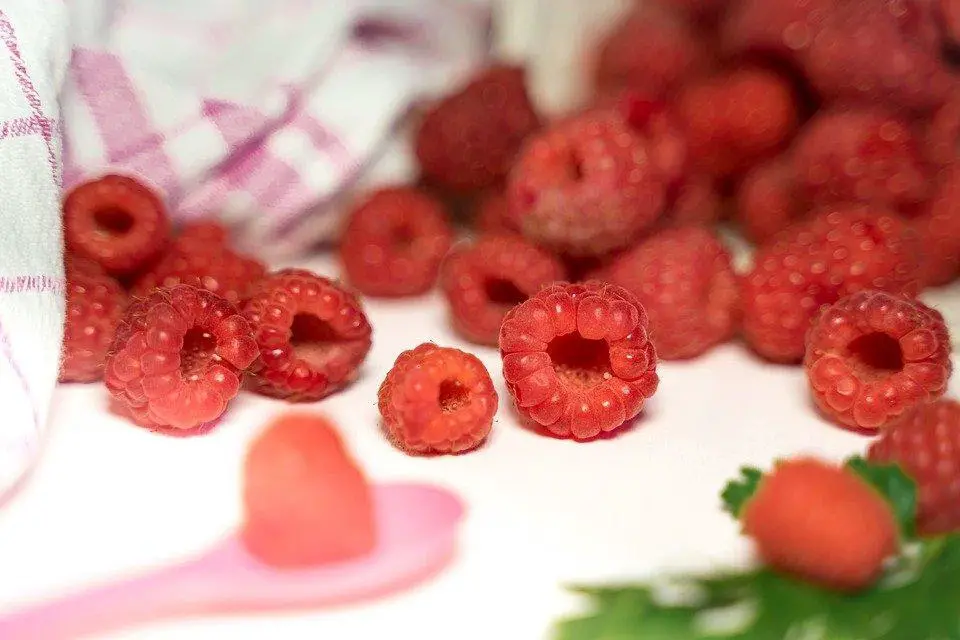
For the best flavor of the jam, choose the ripest raspberries. They’re sweeter and less tart. Underripe raspberries will be less sweet and more tart. Fresh, homegrown ripe raspberries will produce the finest results.
- Add Pectin
Fruit pectin helps make the gelling process faster and easier, but since it requires you to add more sugar, it will dilute the fruit’s original taste. You can cook up a perfect jam even without using pectin, as described in the procedure above, but it will require a little extra care. Just continue cooking carefully, using the gel test at intervals to get the perfect texture.
- Skip Canning
If you find the canning process too complicated, you can simply skip it and store the jars in the fridge for over 3 weeks. If you want to store it for longer, freeze the jam and use it for a year.
- Store In Dry, Warm Jars
Make sure the jars are dry and still warm before pouring raspberry jam in them.
Free Printable PDF Recipe Sheet
Conclusion
That’s all there is to a delicious, homemade, sweet, and tangy raspberry jam recipe. It’s easy and quick to prepare and completely worth the little effort it asks for! Not to mention the health benefits it brings along! Fresh, homegrown raspberries of organic raspberries will prepare a jam jar far healthier than those store-bought jam jars loaded with preservatives and other additives. Of course, you can’t expect them to prepare products exclusively with the best-quality fruit.
Enjoy your homemade raspberry jam on toast for breakfast or top it on cookies and crackers for a delightful twist to afternoon snacks. There are bundles of serving options you can explore for months after the harvest season! Doll up the jar with a red ribbon and present it to family and friends for a personalized gift they’ll love receiving.

thanks for the backlink! I wish I could get an abundance of raspberries as the jam looks amazing 🙂
Thanks for the comment Tandy