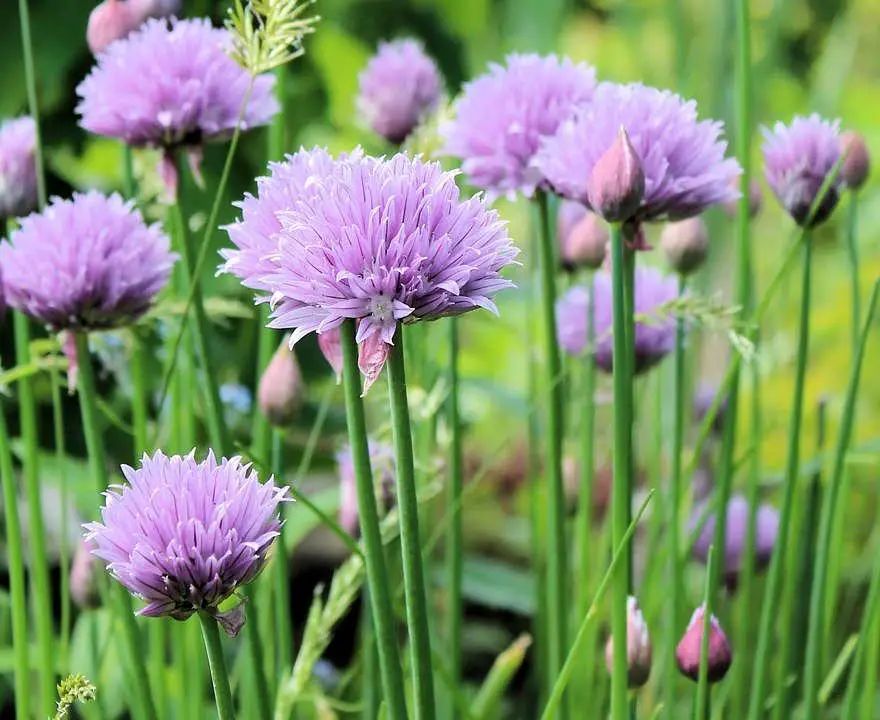
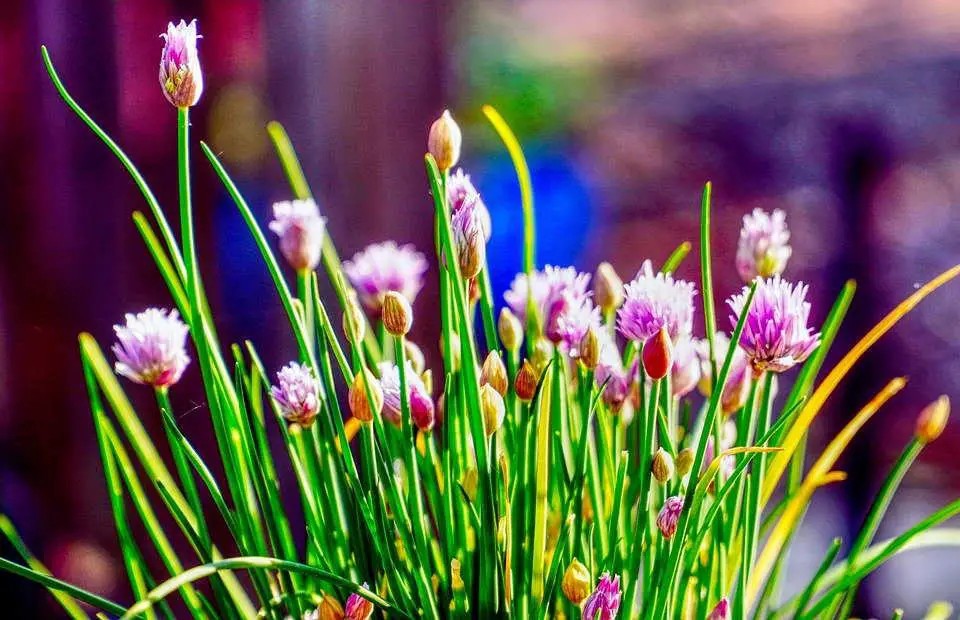
With a fresh, green color, crispy texture, and a hint of onion and garlic flavor, chives are a favorite herb in most kitchens. But its culinary use is not the only reason why it’s so popular in home gardens. The beautiful purple flowers appearing in late spring make it a captivating ornamental to adorn entrances.
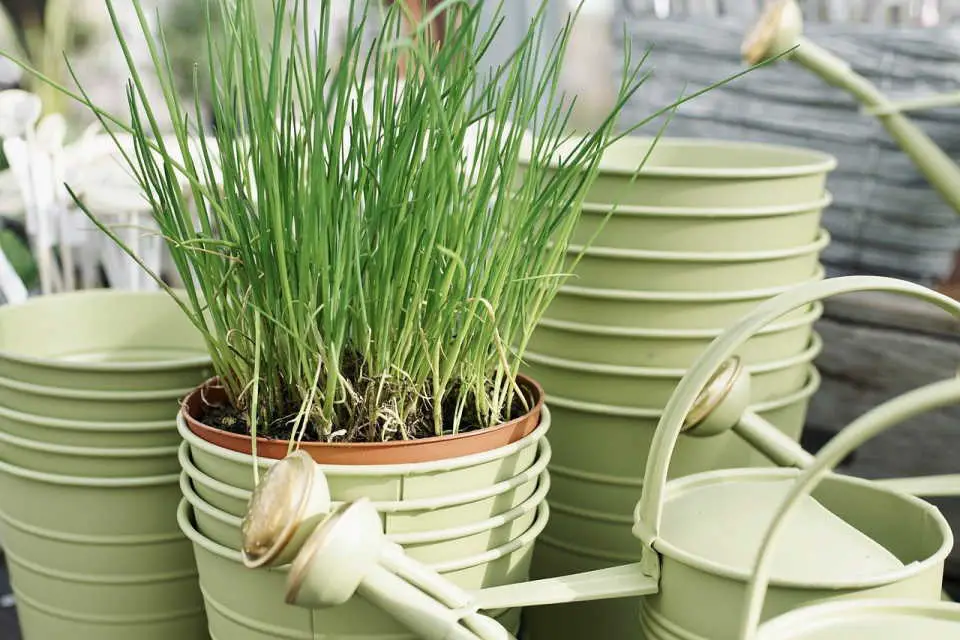
It’s as easy to grow in containers as it is in garden beds. Growing chives in containers also gives you the option to place chives anywhere you like! Brighten up your porch or balcony, or grow chives just where you’ll need it – on your kitchen window sill. Just snip a few leaves from your kitchen window, dice them and toss them over a dish for a gourmet presentation! Here’s a complete guide on growing chives from seeds in containers.
Reader Poll: What online courses would interest you?

When To Start Growing Chives From Seed
If you plan on keeping the potted chives outdoors, start seeds indoors at least 8 weeks before the first frost of the season. If you plan on growing them in pots indoors, you can start chives any time of the year.
Types Of Chives To Grow
When speaking of chives, it’s mostly referring to common chives with the botanical name Allium schoenoprasum. However, there are other closely related species that are also chives. They are used in the same way. Here are some of the chives varieties to grow in containers:
Common Chives (Allium schoenoprasum)
These are the most popular varieties that grow to about a foot tall and are well adapted to growing in containers. With a mild onion flavor, they are also sometimes called onion chives and work great in salads, omelets, and many other dishes. Forescate and Schmittlauch are the two most popular cultivars of the variety.
Subscribe to our newsletter!
Garlic Chives (Allium tuberosum)
These varieties are also popular in culinary use and grow taller than the common chives, typically extending to 1 to 2 feet in height. The taste is closer to that of garlic, and they work great in salads and meat dishes.
Giant Siberian Chives (Allium ledebourianum)
They grow to about 18 to 30 inches tall and are larger than other varieties. They have a mild onion flavor and can be incorporated in several dishes, just like other chives varieties.
Blue Chives (Allium nutans)
This variety is perfect for growing in small pots since they only grow to about a foot tall. The blue-green leaves bring color to the surrounding, while their mildly garlicky flavor brings flavor to your dishes.
Steps To Plant Chives In Pots

- Choosing The Container
Your container should be at least 8 inches deep. If you’ll grow a single chives plant in the container, a width of 6 to 8 inches is sufficient. However, if you’ll have multiple plants growing in the same pot, choose a wide pot so you can grow individual plants 6 inches apart.
- Prepare The Pot
If there isn’t already a drainage hole at the base of the pot, drill one before adding soil. Fill the pot up to ½ inch from the rim with some good quality, light, well-draining soil.
- Plant The Seeds
Sow the seeds ¼ inches deep into the soil and water it. Place the pot at a warm location where it receives plenty of light. Generally, the seedlings will start appearing in a week or two. It may take longer if the weather is cooler.
Care For Potted Chives Plants

- Location
Choose a sunny spot where your chives can enjoy at least 6 hours of bright sunshine. A south-facing window is perfect for your potted chives plants if you’re not placing them outdoors. In warmer climates, however, chives are better off growing in partial sunlight.
Make sure you don’t place the pot near any heating or cooling vents as they can easily damage the plant.
- Watering
Water the potted plant slowly until moisture appears through the drainage holes. Give some time between waterings such that the topsoil dries out before the next watering. Check the moisture of the soil by pressing your finger against it. As soon as the top 1 inch starts to dry out, your plant will need watering.
- Fertilizing
Chives will soon start using up the nutrients of the soil mix. Since it’s a perennial herb, chives will only thrive if it gets a consistent supply of nutrients. You need to be even more particular about fertilizing potted chives than for those growing in a garden bed since they don’t have any other source of nutrients. Sidedressing at the mid-season with compost, coupled with organic fish emulsion fertilizer every two weeks from spring to late summers, is a good way to nourish your chives with all the required nutrients organically.
As an inorganic choice, balanced granular fertilizer such as 3-3-3 is also good to keep the plants in shape. Sprinkle the fertilizer according to the instructions on the package and water the plants after fertilizing them. Remember that your plants won’t need any fertilization during the winters since they’ll be dormant through this time.
Harvesting Chives
As soon as they’re at least 6 inches in height, you can start snipping the leaves as needed in the kitchen. Cut them 2 inches from the soil using sharp scissors or pruning shears. Regular harvesting every 2 weeks or so promotes growth and keeps your chives plants producing more fresh greens for harvesting. The blossoms are also edible and make a bright garnish to many dishes.
Conclusion
Chives are beautiful plants to include in a container garden. They keep the surroundings bright and fresh and give a consistent supply of herbs to your kitchen. Whether it’s soup, salads, meat dishes, or baked potatoes, everything tastes better with a generous sprinkle of diced chives on top!

